ljn
ClickHouse Learnings
Deduplication with GlassFlow: Fixing the limits of ClickHouse merges
Written by
Armend Avdijaj
-

1.1 Introduction
In the previous article, we saw how Glassflow competes with readily available ClickHouse alternatives like ClickPipes for the data deduplication scenario. Here are some limits of using ReplacingMergeTree (we discussed these in detail in the last article):
Deduplication happens only during background merges, which are unpredictable.
Queries return duplicates unless
FINALis used, which is slow and expensive.Large datasets may skip merges due to size thresholds, leaving duplicates intact.
No deduplication across shards in distributed setups.
Let’s say you decide to go for Glassflow to avoid the above stated limitations. Now, the question you might have is: how hard is it to setup and use Glassflow?
Well, let’s find out together. We will be going through the entire process from scratch. You heard it right! We will start with the installation of Glassflow on our local systems and go on to deploy our very first deduplication pipeline. So, let’s start by setting up a few things we will need for running Glassflow.
1.2 Environment Setup
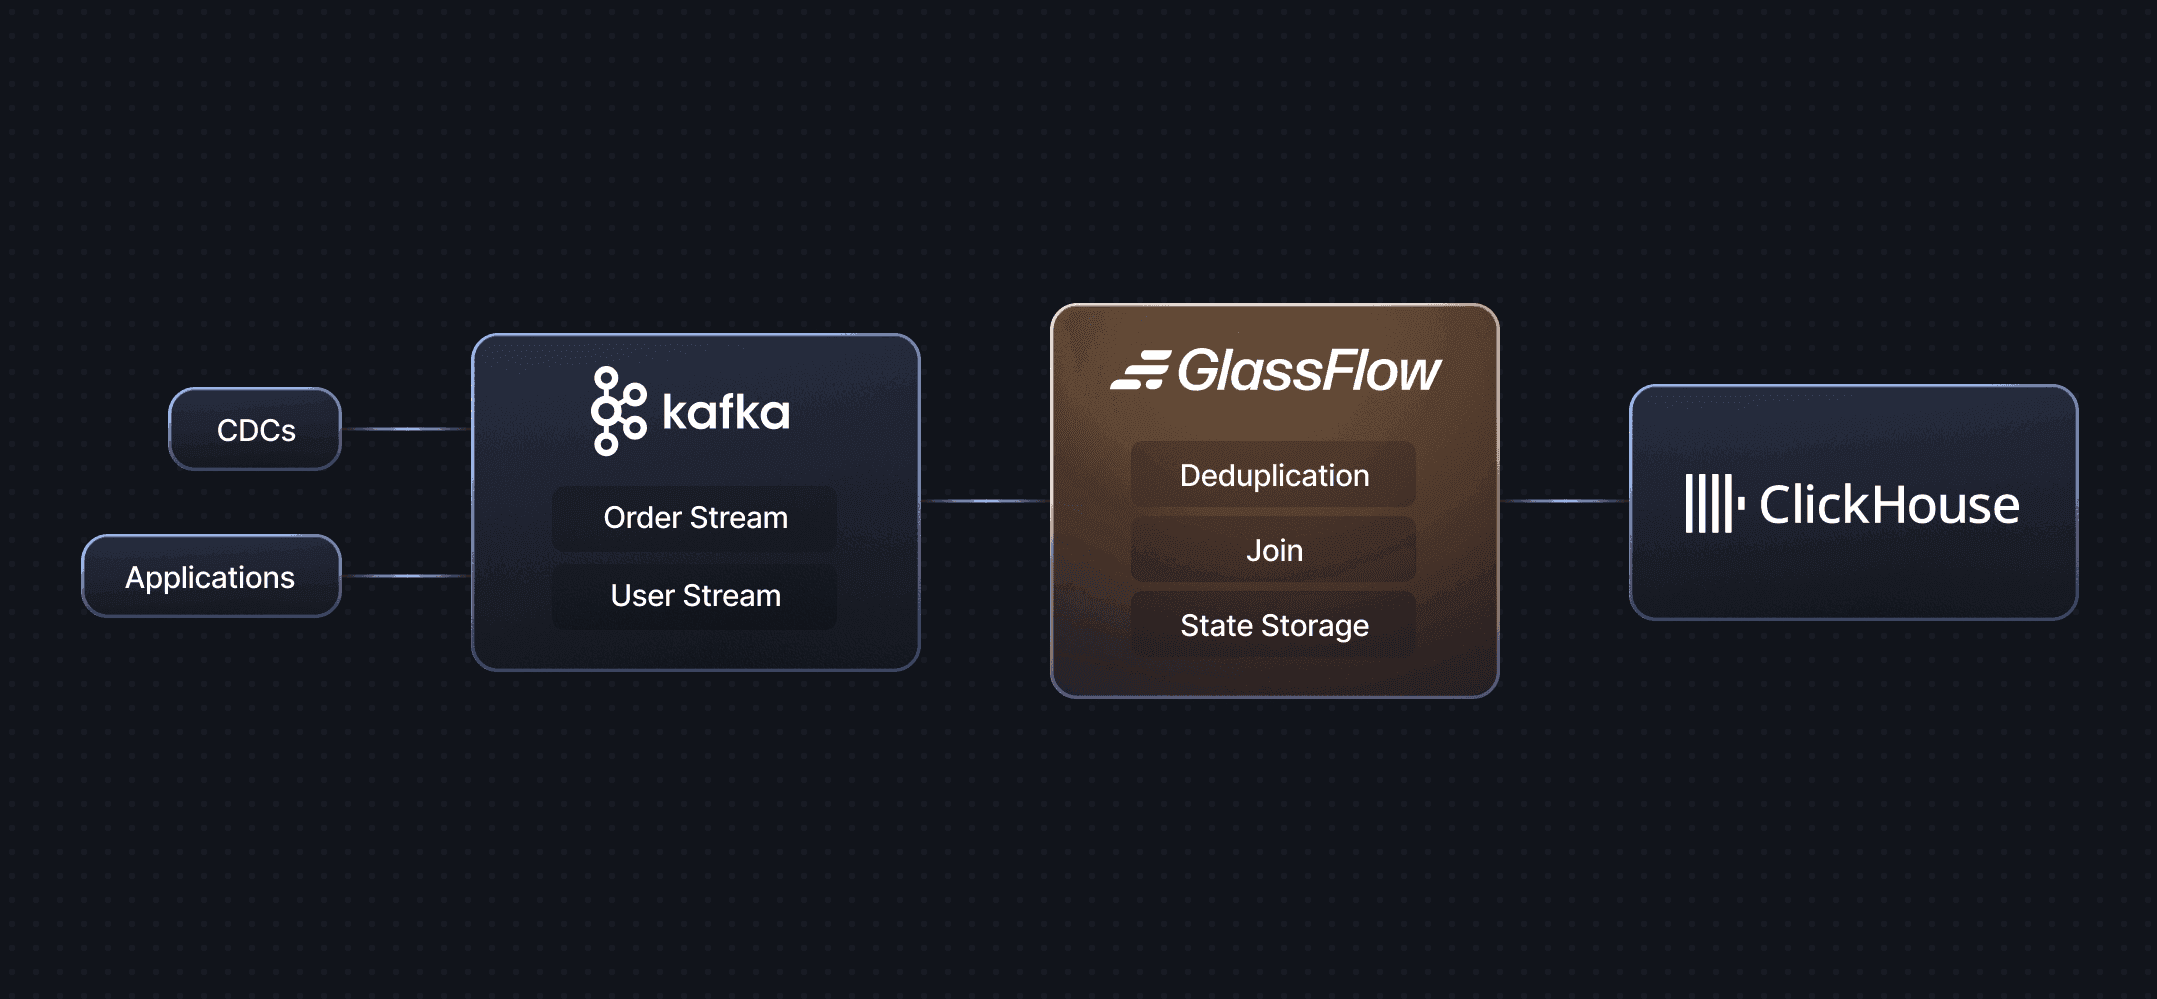
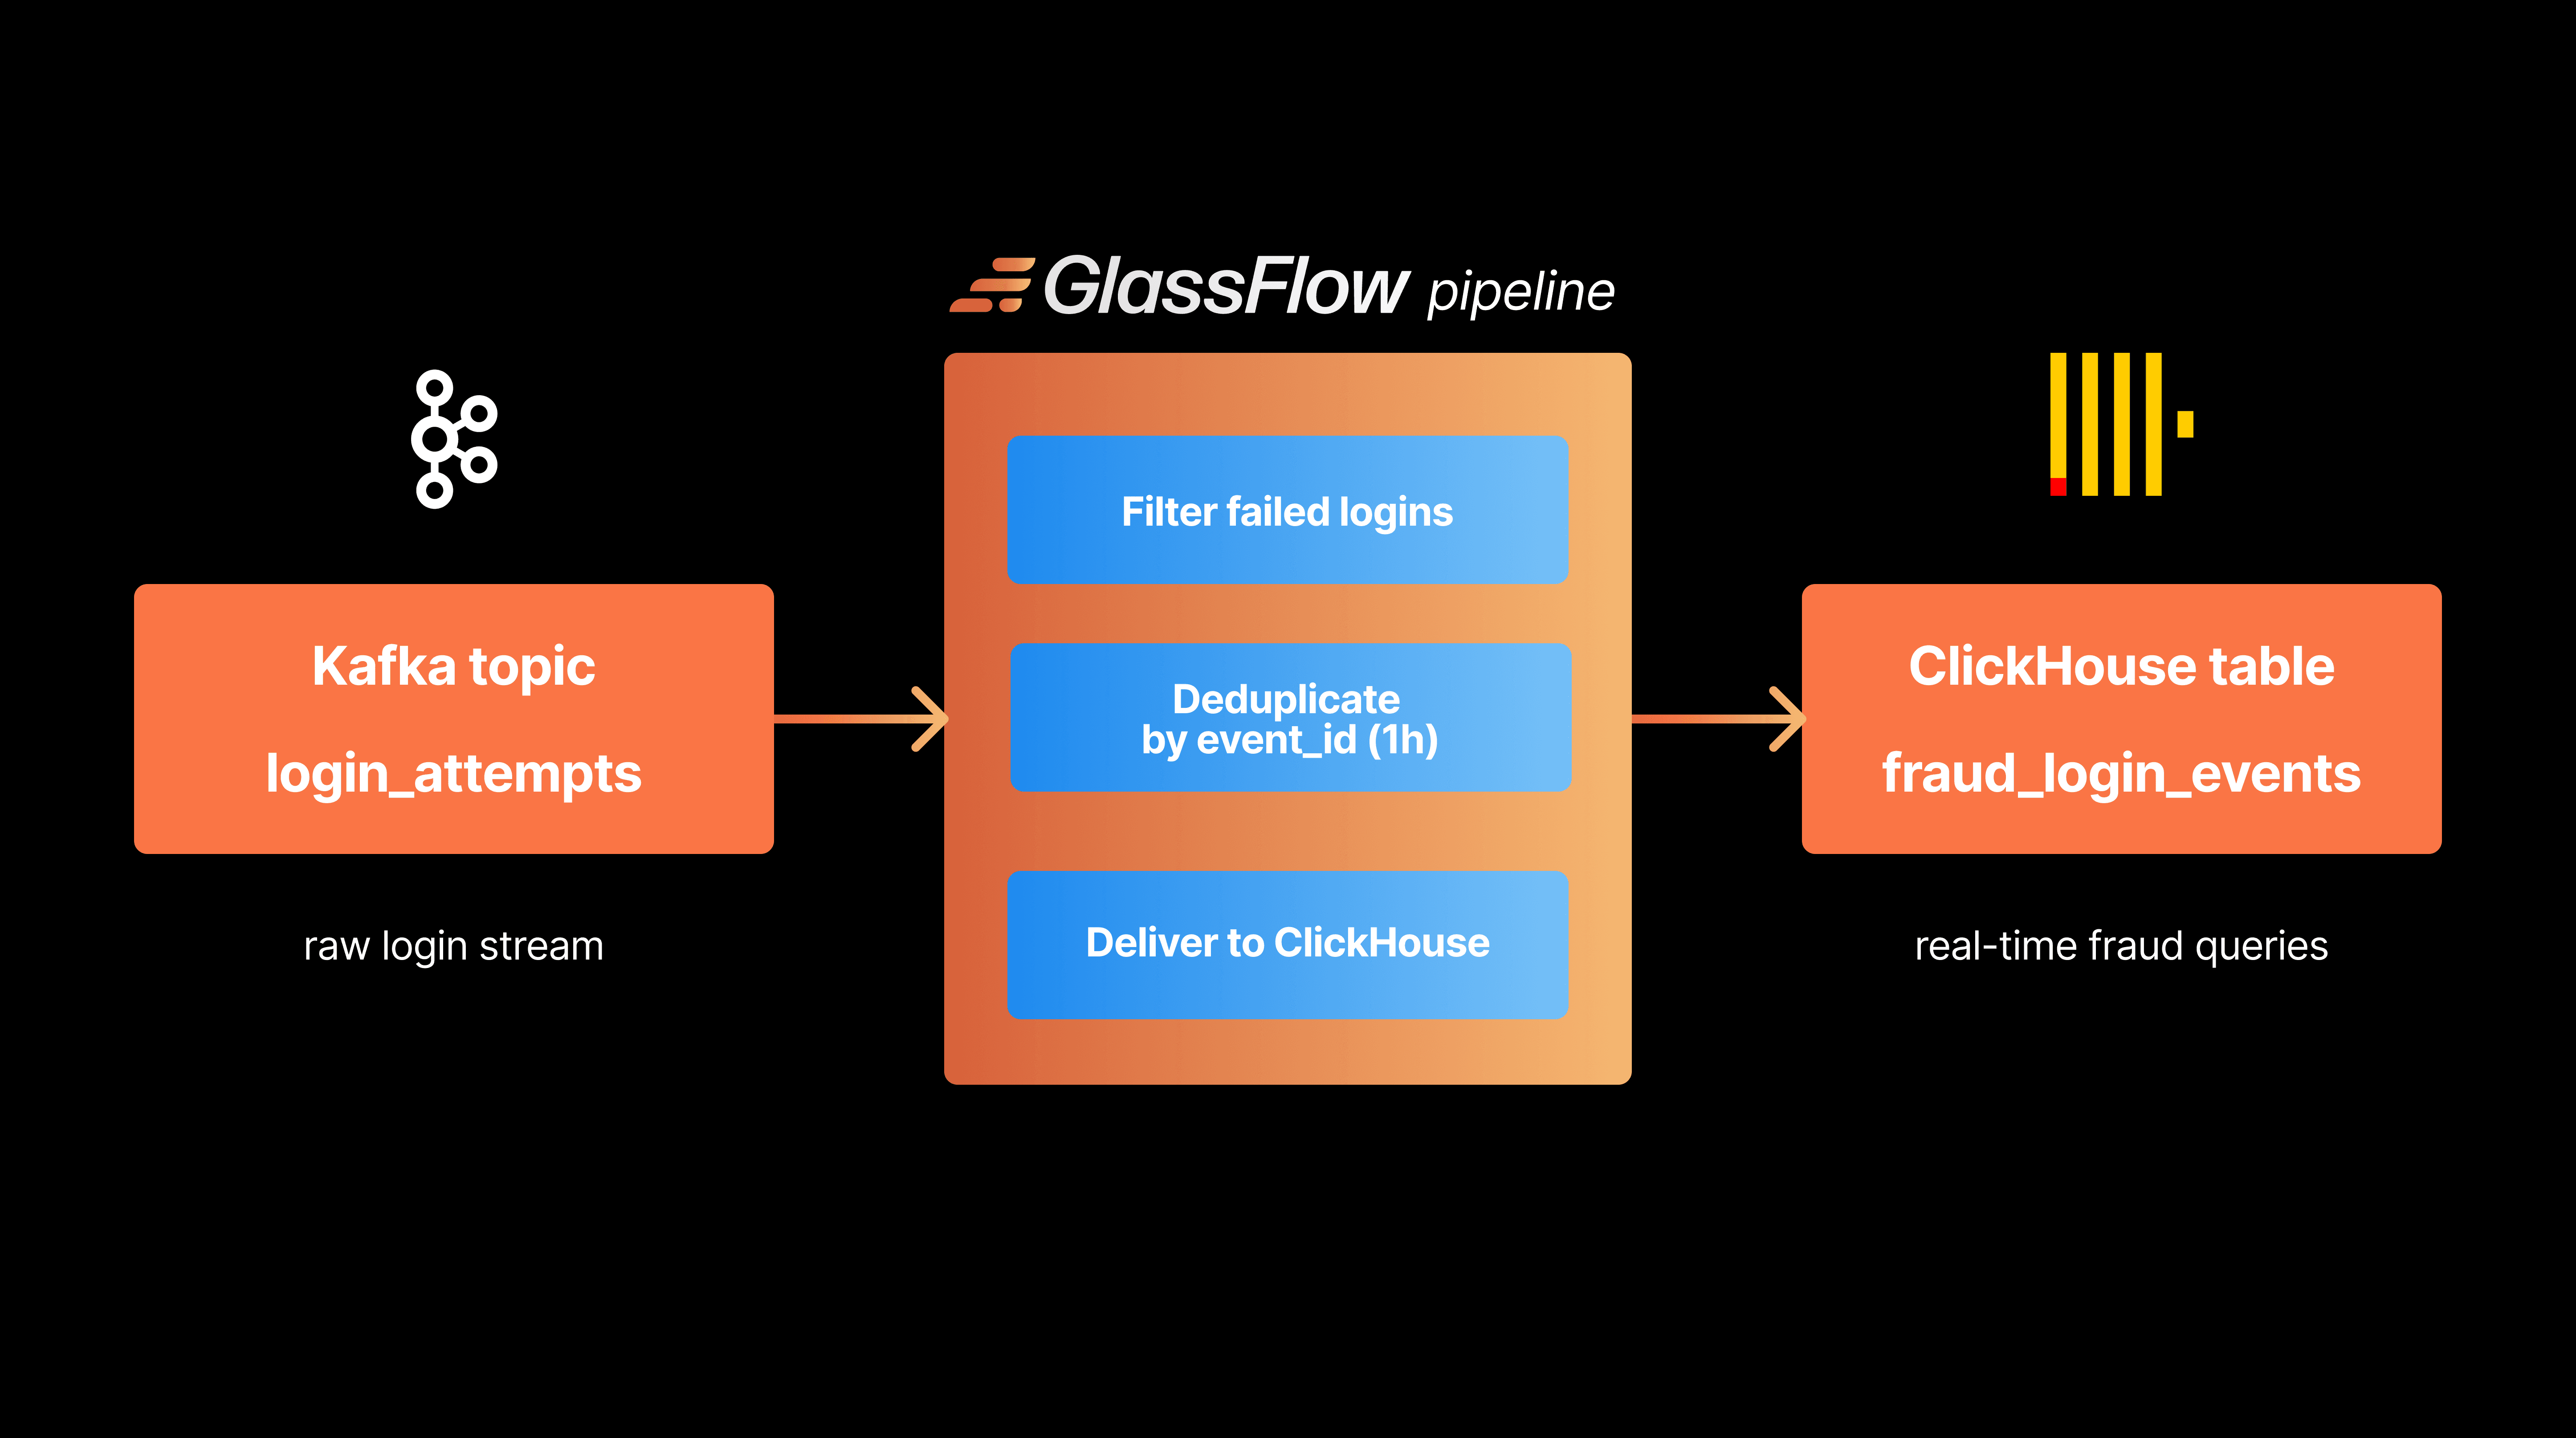
This section will help you setup everything you need to start creating your first Glassflow streaming data pipeline. Here is a high level architecture of what we will be doing (if you have read the last article, this is a same architecture we used).
1.2.1 Prerequisites
If you look at the above diagram, for this tutorial to work smoothly, we will need the following things apart from Glassflow:
An Application that can generate streaming data for us on-demand.
A Kafka Broker
ClickHouse Instance
Now, you always have the option to deploy these things locally through Docker but to keep things really simple, we will be using the cloud-hosted versions for Kafka and ClickHouse in this tutorial. The primary reason for this is that both Confluent Kafka and ClickHouse cloud offer 30-45 day free trials with more than sufficient credits.
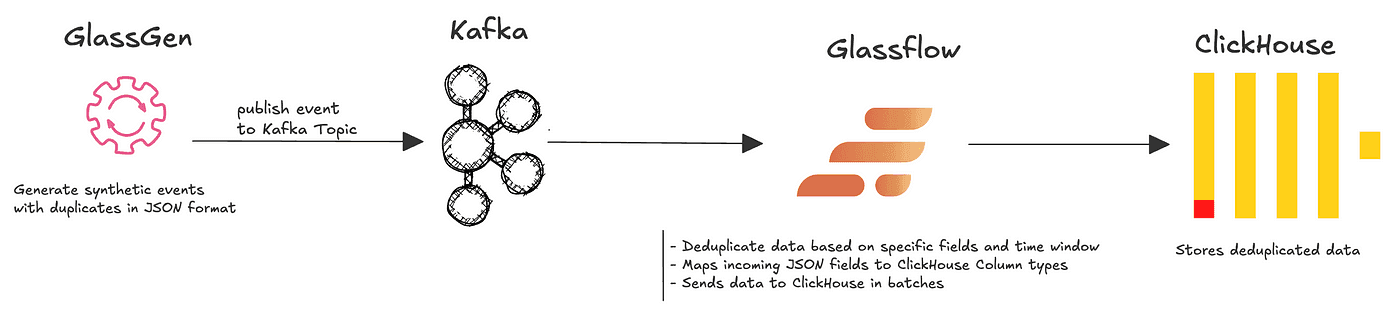
Now, for data generation, we will use yet another service provided by ClickHouse: Glassgen. This python package enables us to generate a huge amount of streaming data in seconds and publish it onto various platforms like Kafka (Confluent is natively supported!), Webhooks or if you are an expert, you can even create your own custom connector/sink.
We have finalized the stack for our tutorial project now. Let’s see how to set these up before we start with Glassflow.
1.2.2 Setting up the Prerequisites
1.2.2.1 ClickHouse Cloud
ClickHouse offers a 30 day free trial with $300 worth of credits and doesn’t even ask for your credit card details. This helps people test it’s capabilities without spending any money and see if it fits their use case. Here is how to set it up:
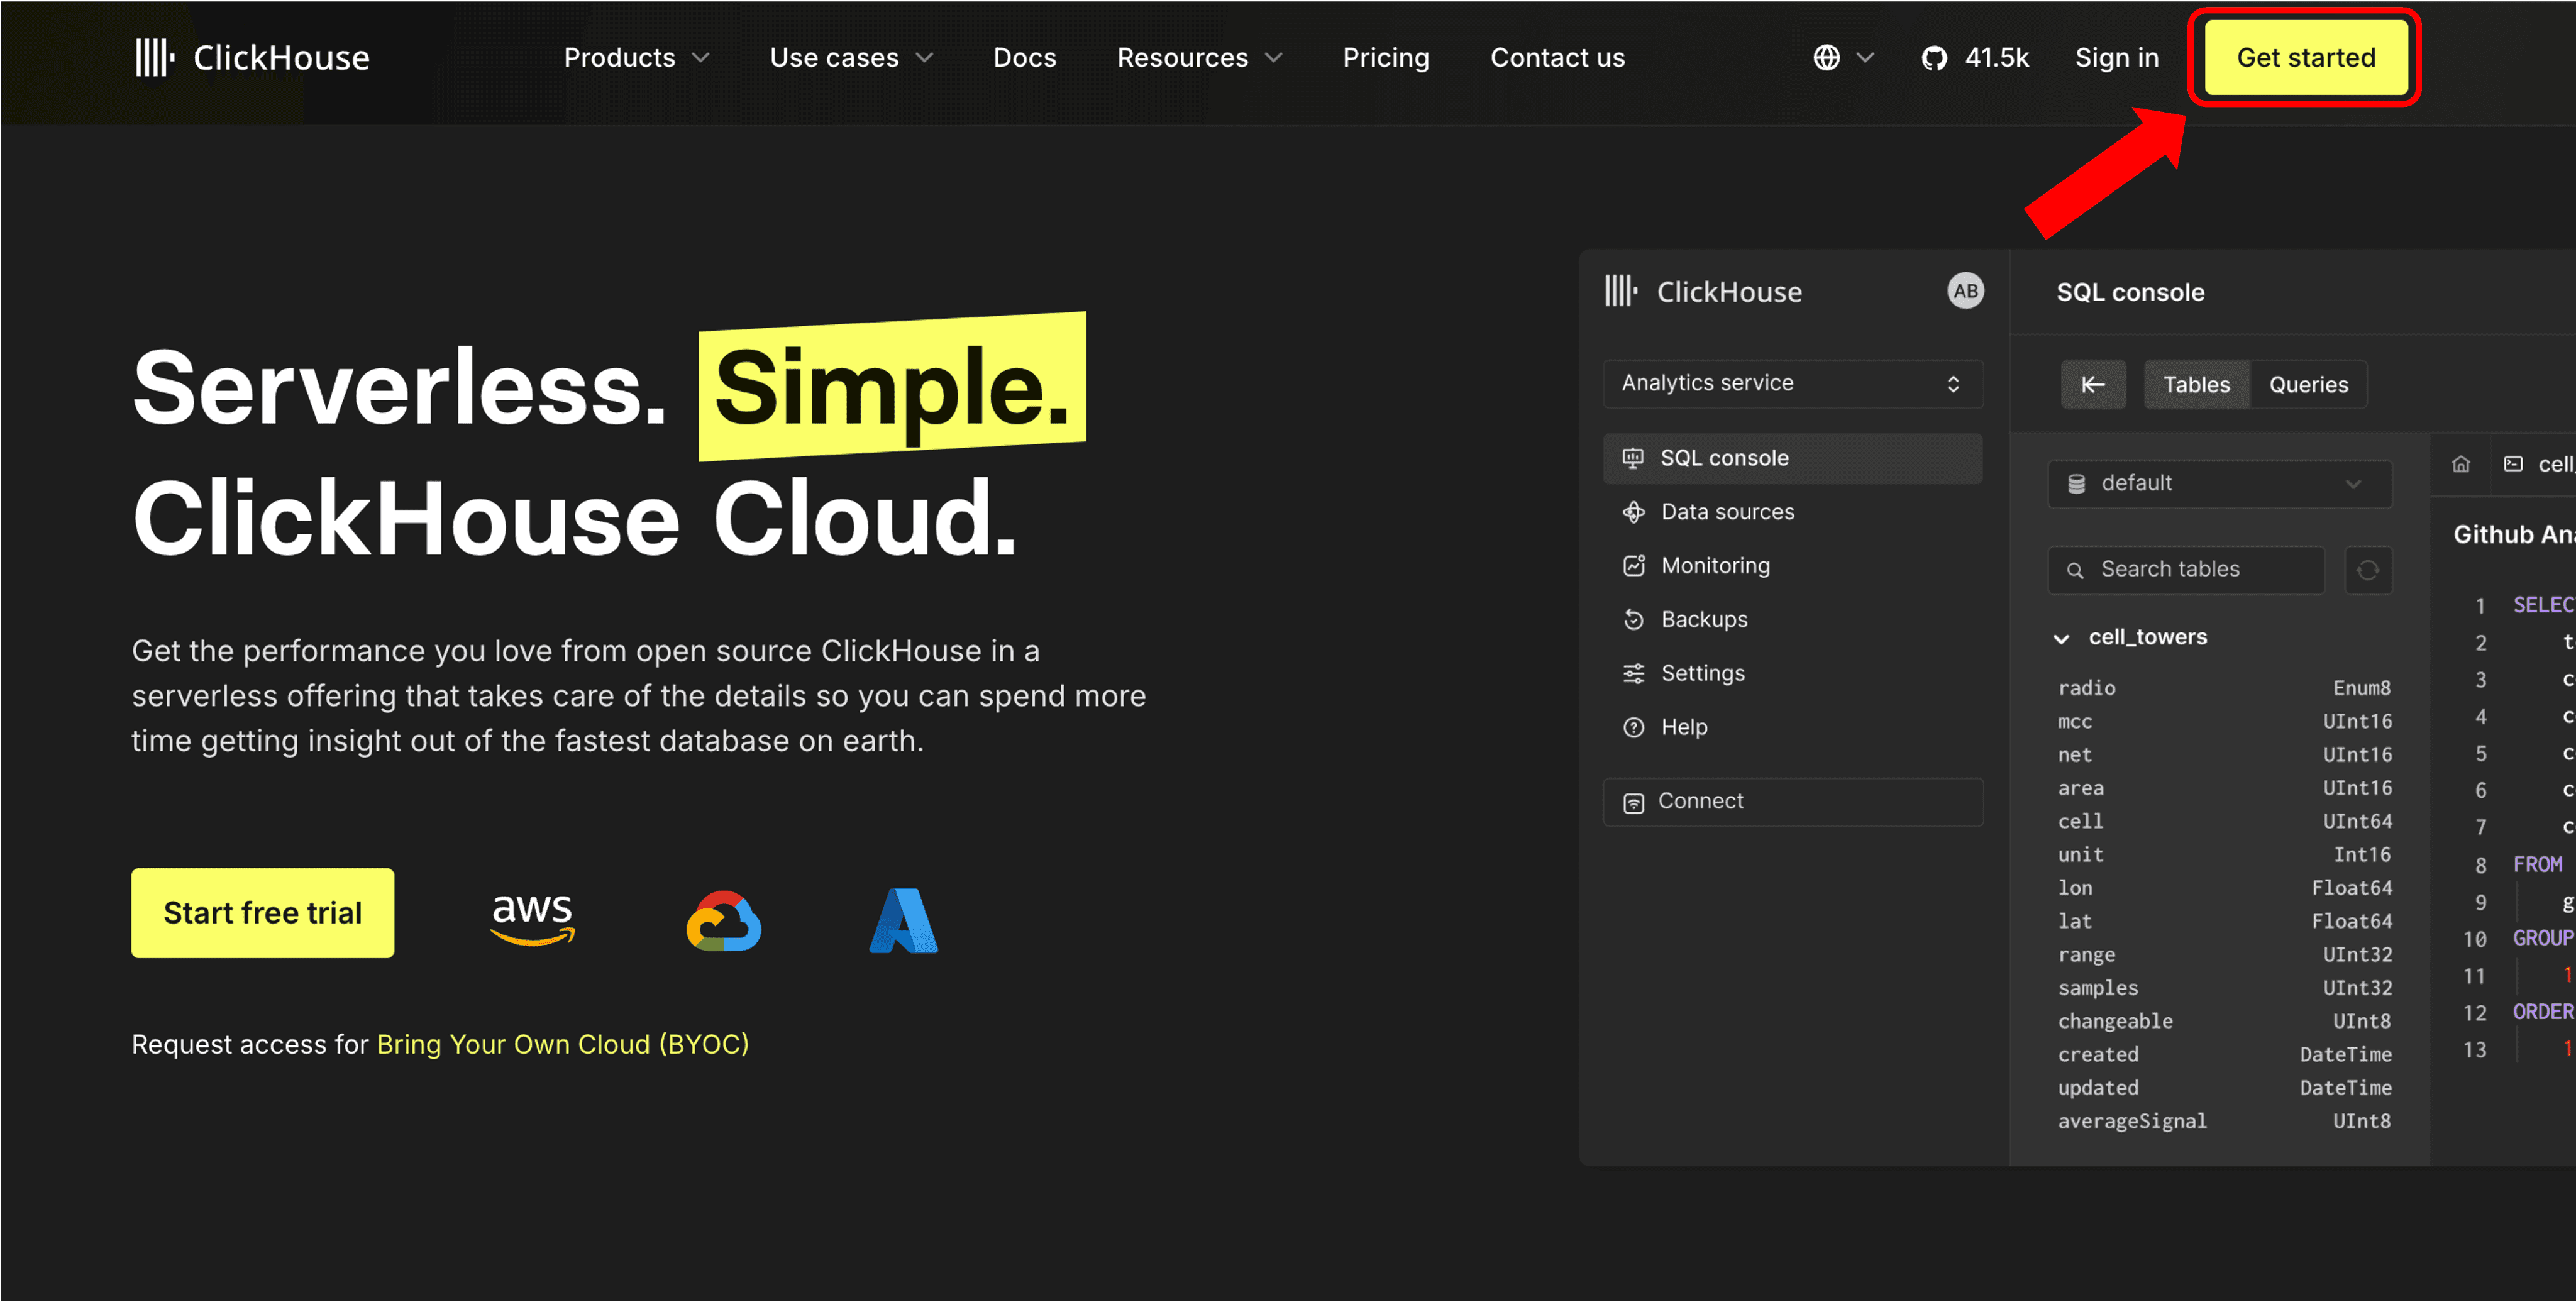
Go to ClickHouse Cloud and press on the Get Started button.
Visit: https://clickhouse.com/cloud
Sign Up with existing Google or Microsoft credentials or simply add your email address to setup a new account.
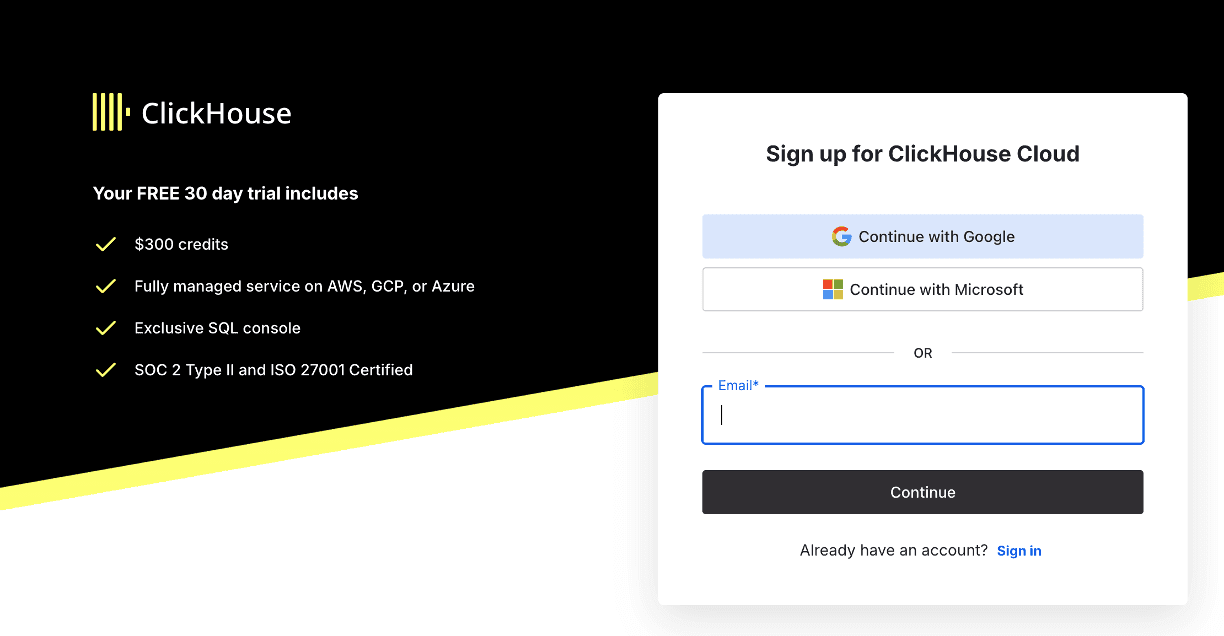
Accept the terms of service by pressing on the Continue button to complete the sign up process. This will automatically start your free trial and you will be taken to the plan selection screen.

For this tutorial, the basic plan would suffice and will give you the 30 full days to test on ClickHouse. Note that selecting the higher plans will result in more credits being used.
Next, configure some necessary parameters to setup your ClickHouse cloud instance. You will need to enter the following: Service Name, Cloud Provider, Region and the memory and scaling options.
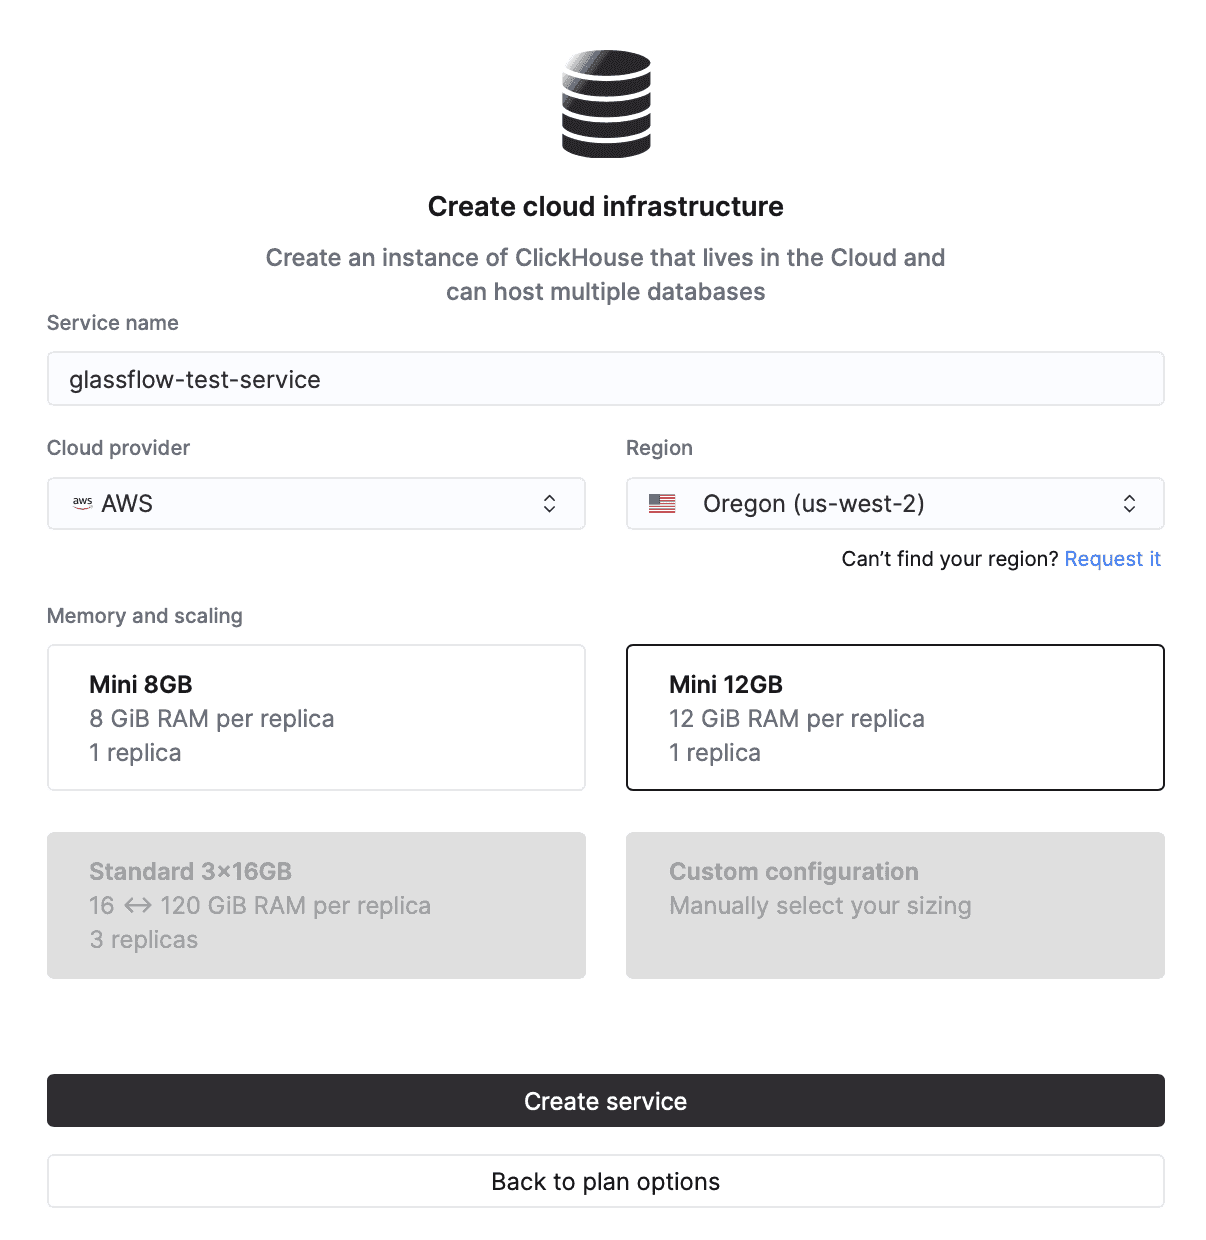
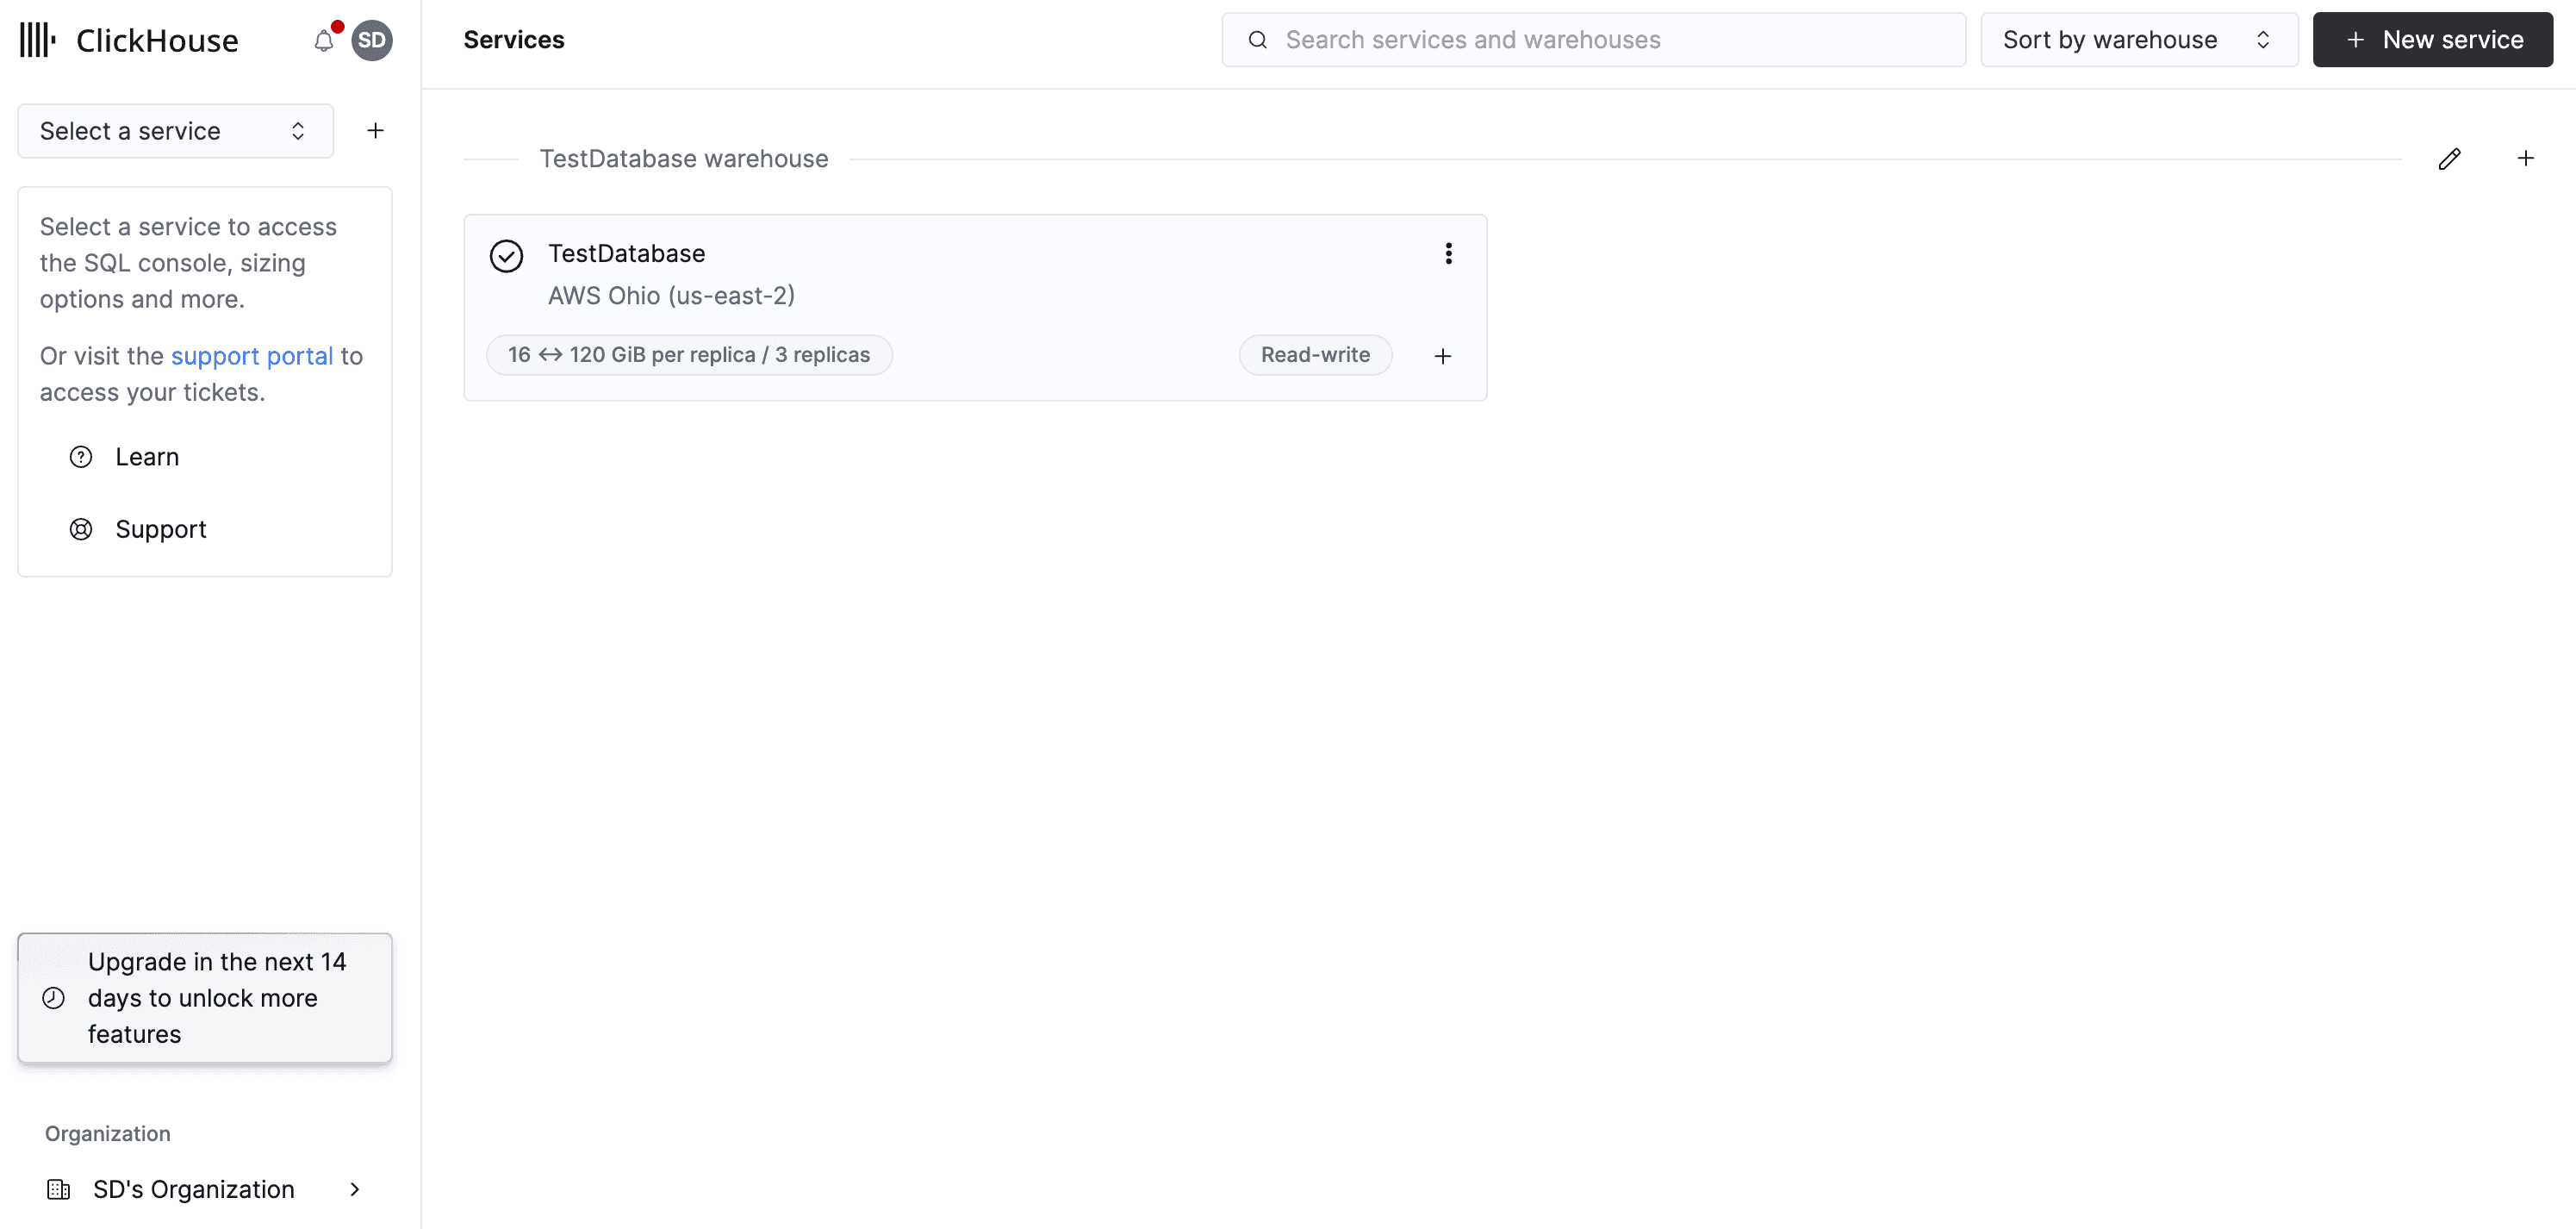
Finally, click on “Create service” and wait for ClickHouse to set everything up for you. Once you have completed the setup, you can successfully start using ClickHouse. You can access everything through the console home page.
Next, let’s setup Confluent Cloud to host our first managed Kafka cluster.
1.2.2.2 Confluent Kafka
Confluent also provides managed Kafka deployment solutions along with $400 worth of free credits for the first 30 days. That would be more than enough for this tutorial. Setting this up is very easy as well.
Start by visiting Confluent Cloud Sign Up page.
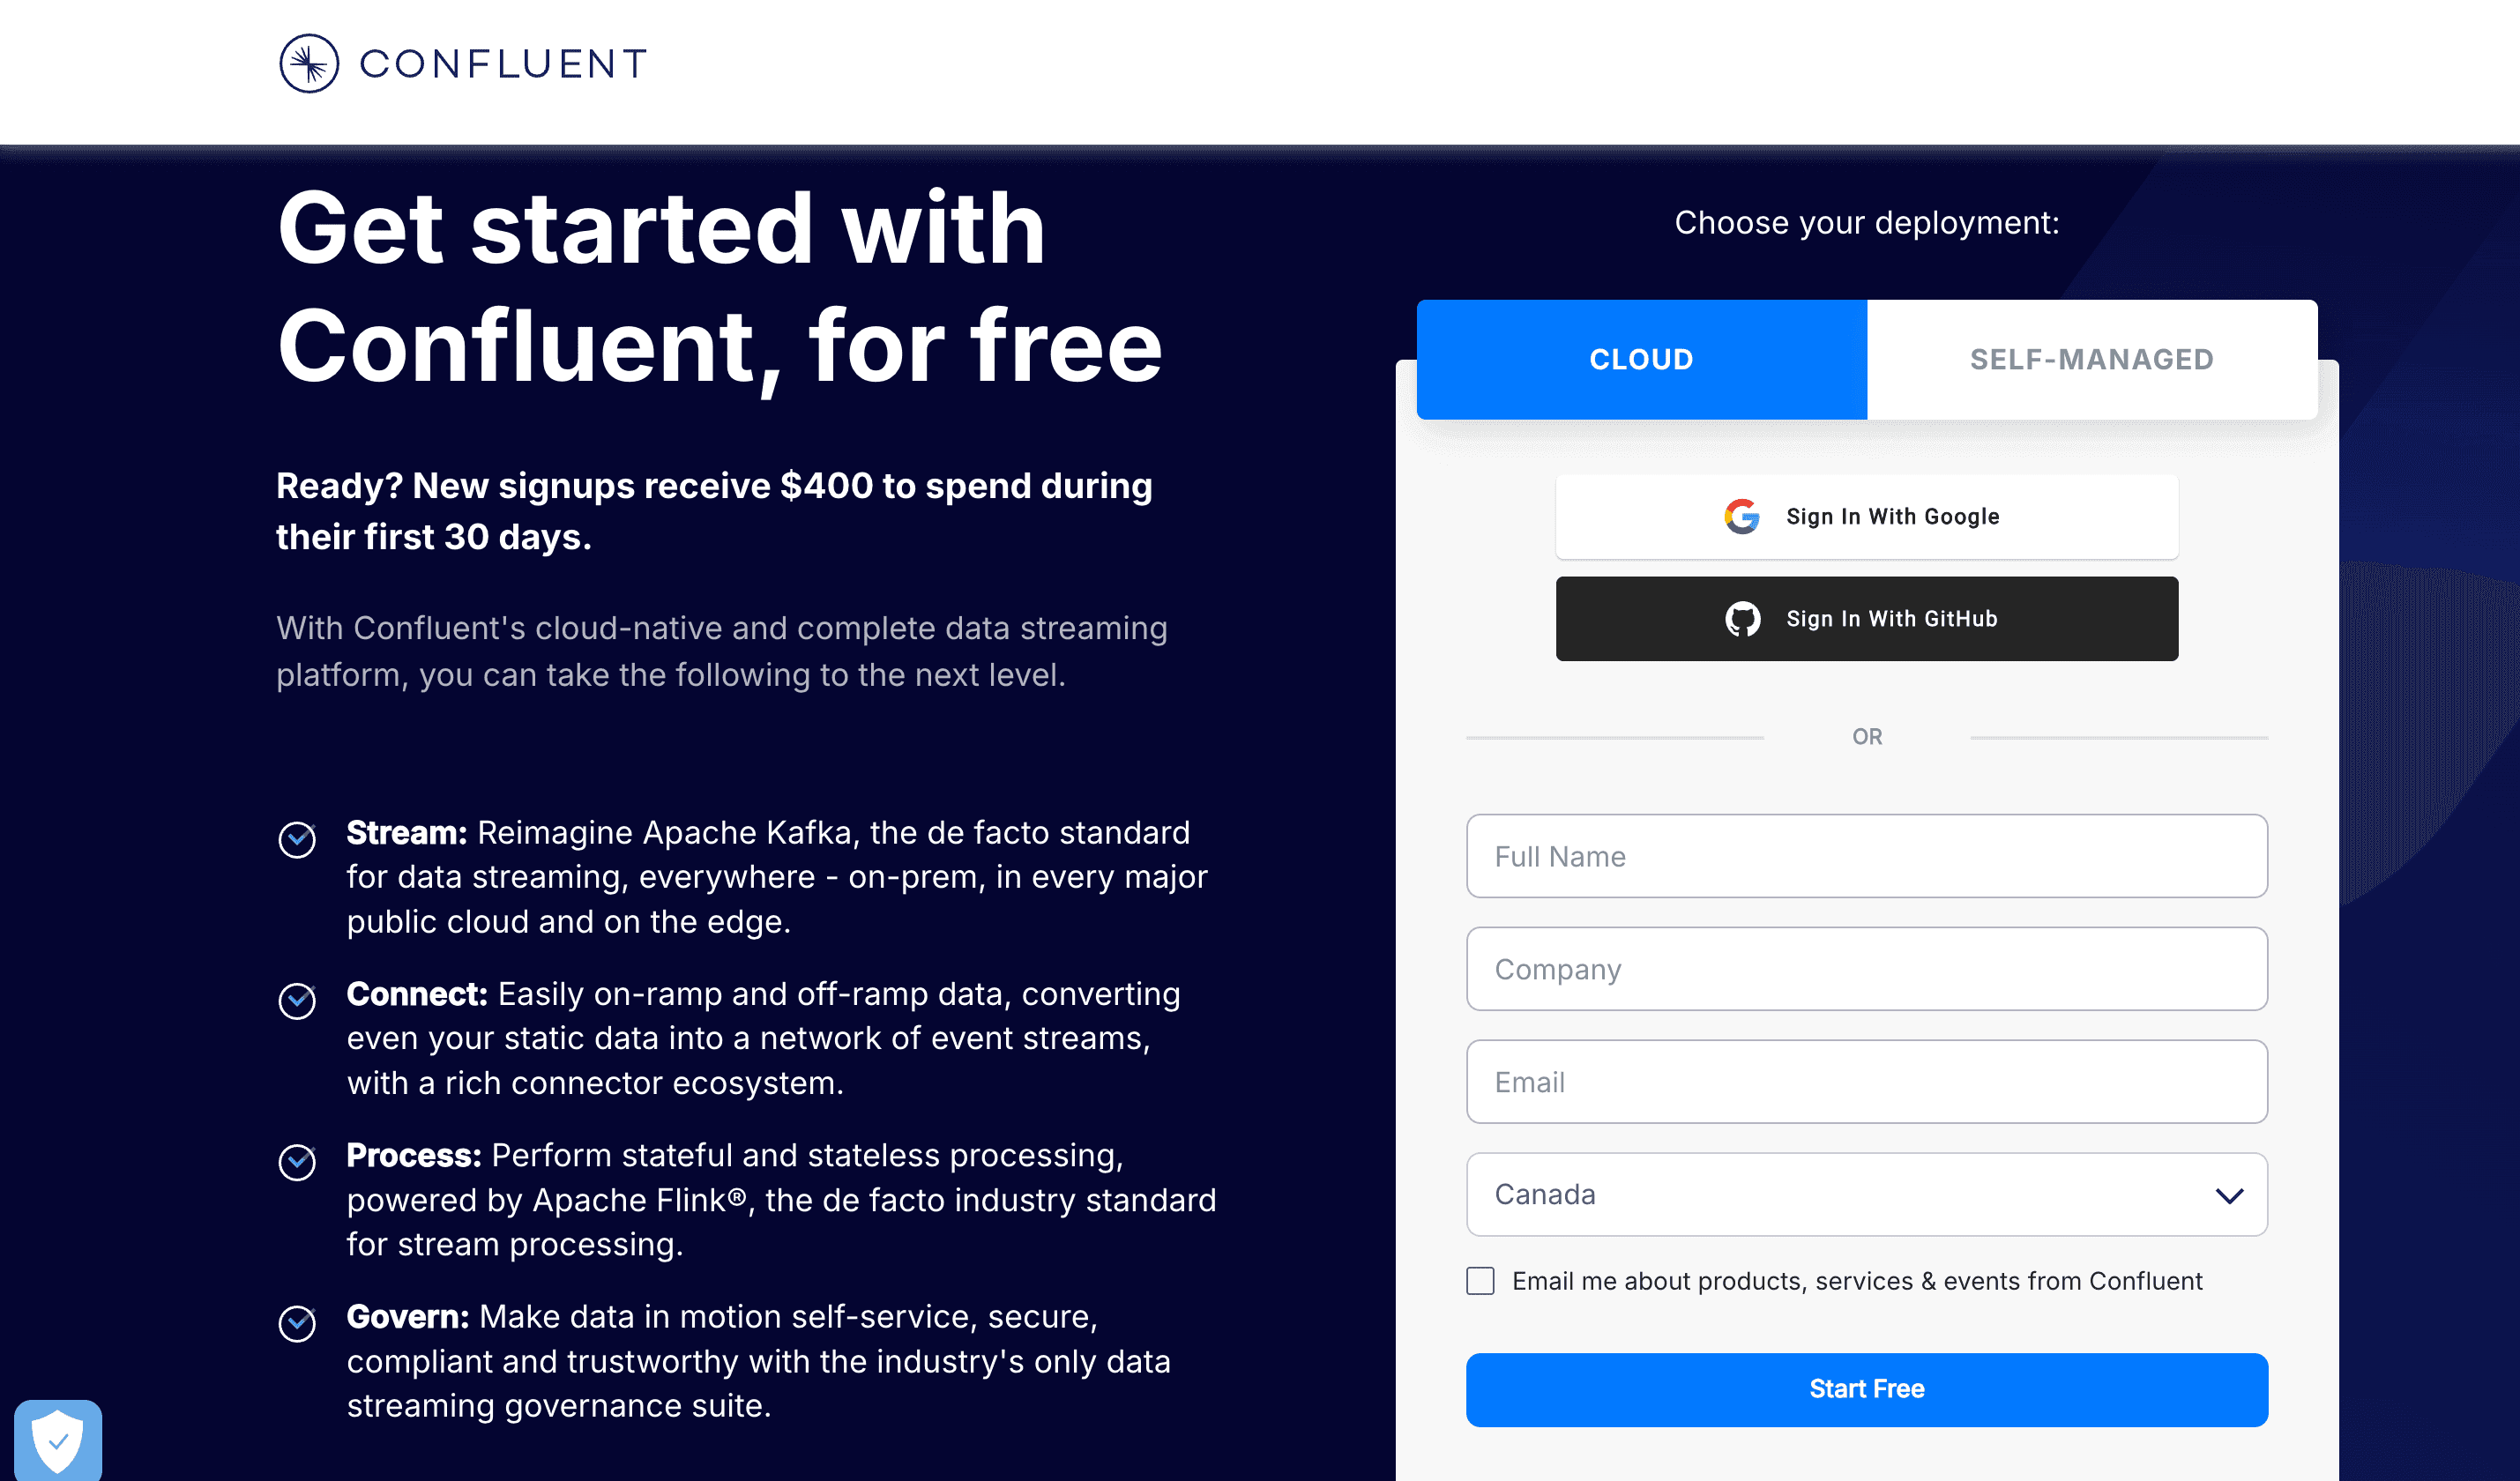
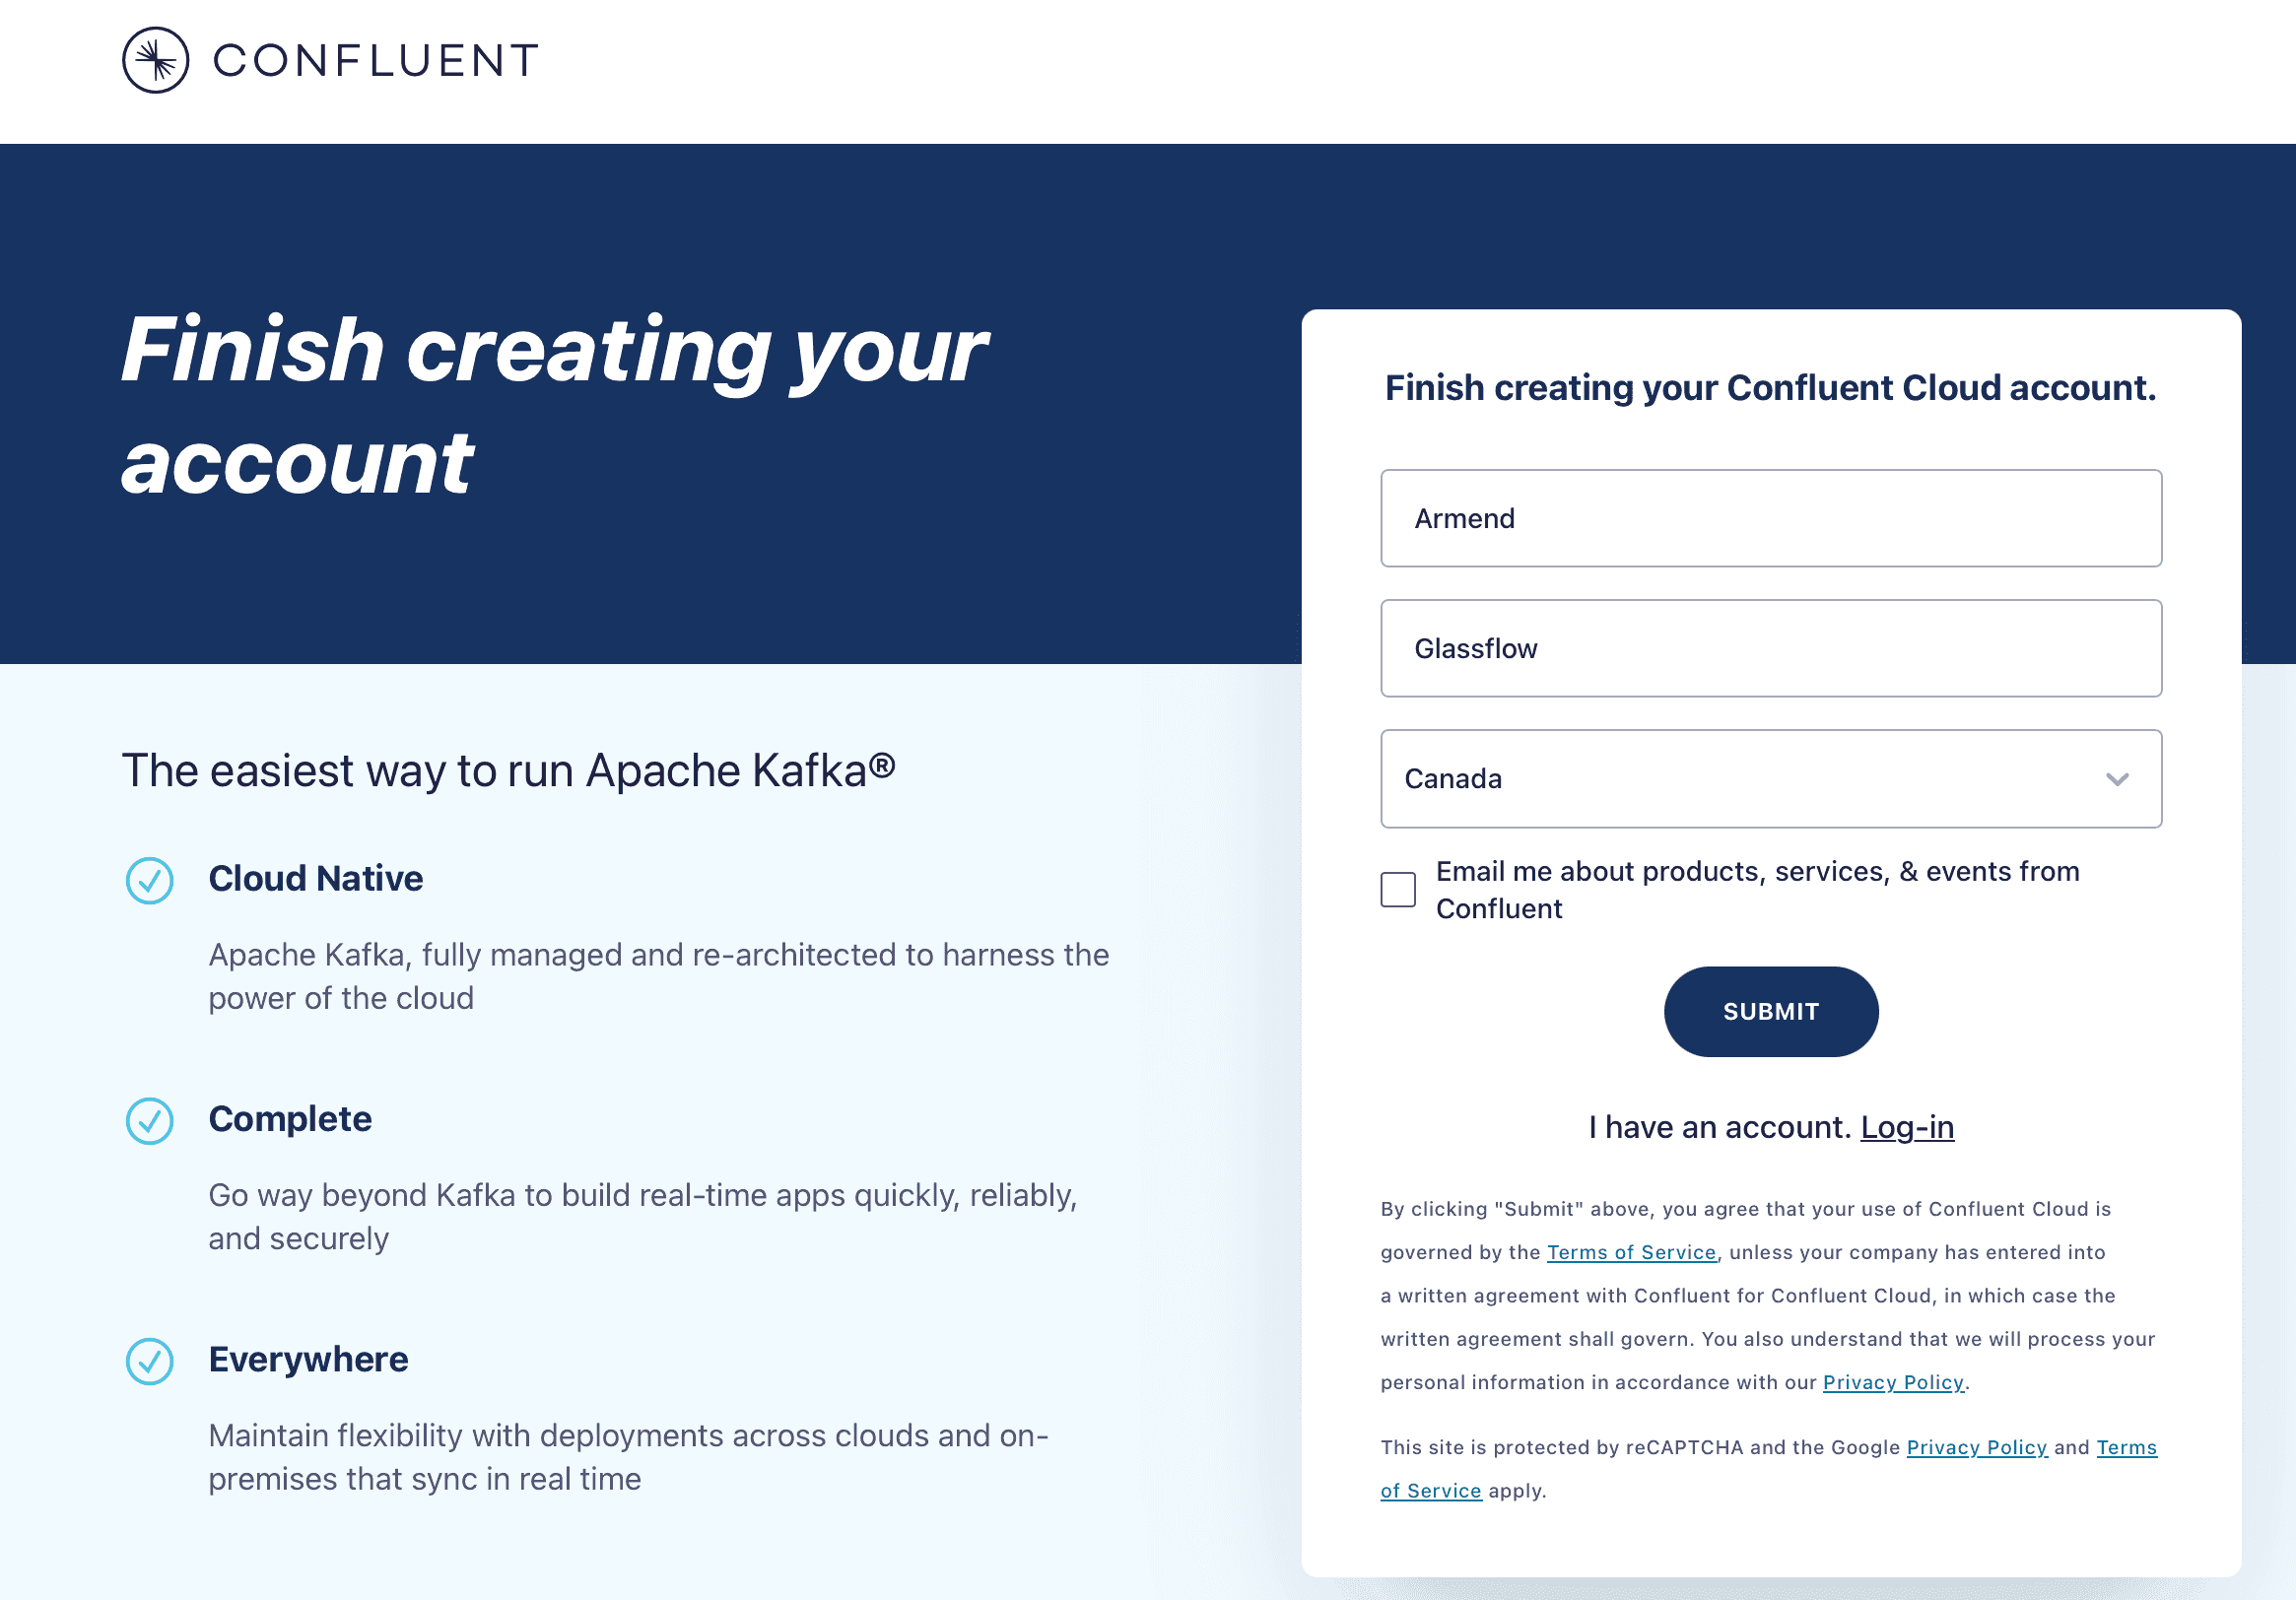
You can use Google/GitHub accounts to easily sign up or enter the quested details and create an account with an email address. Personally, I use Google Sign in for most of my work. Once that is done, you will see a page asking you to enter a few more details about you.
Once you complete the setup process, you will be taken through a short process where in you will have to answer a few simple questions. Then, you will be able to create your cluster and select a few more details like the cloud platform and the region it would be hosted on. Finally, you can name your cluster and press Continue.
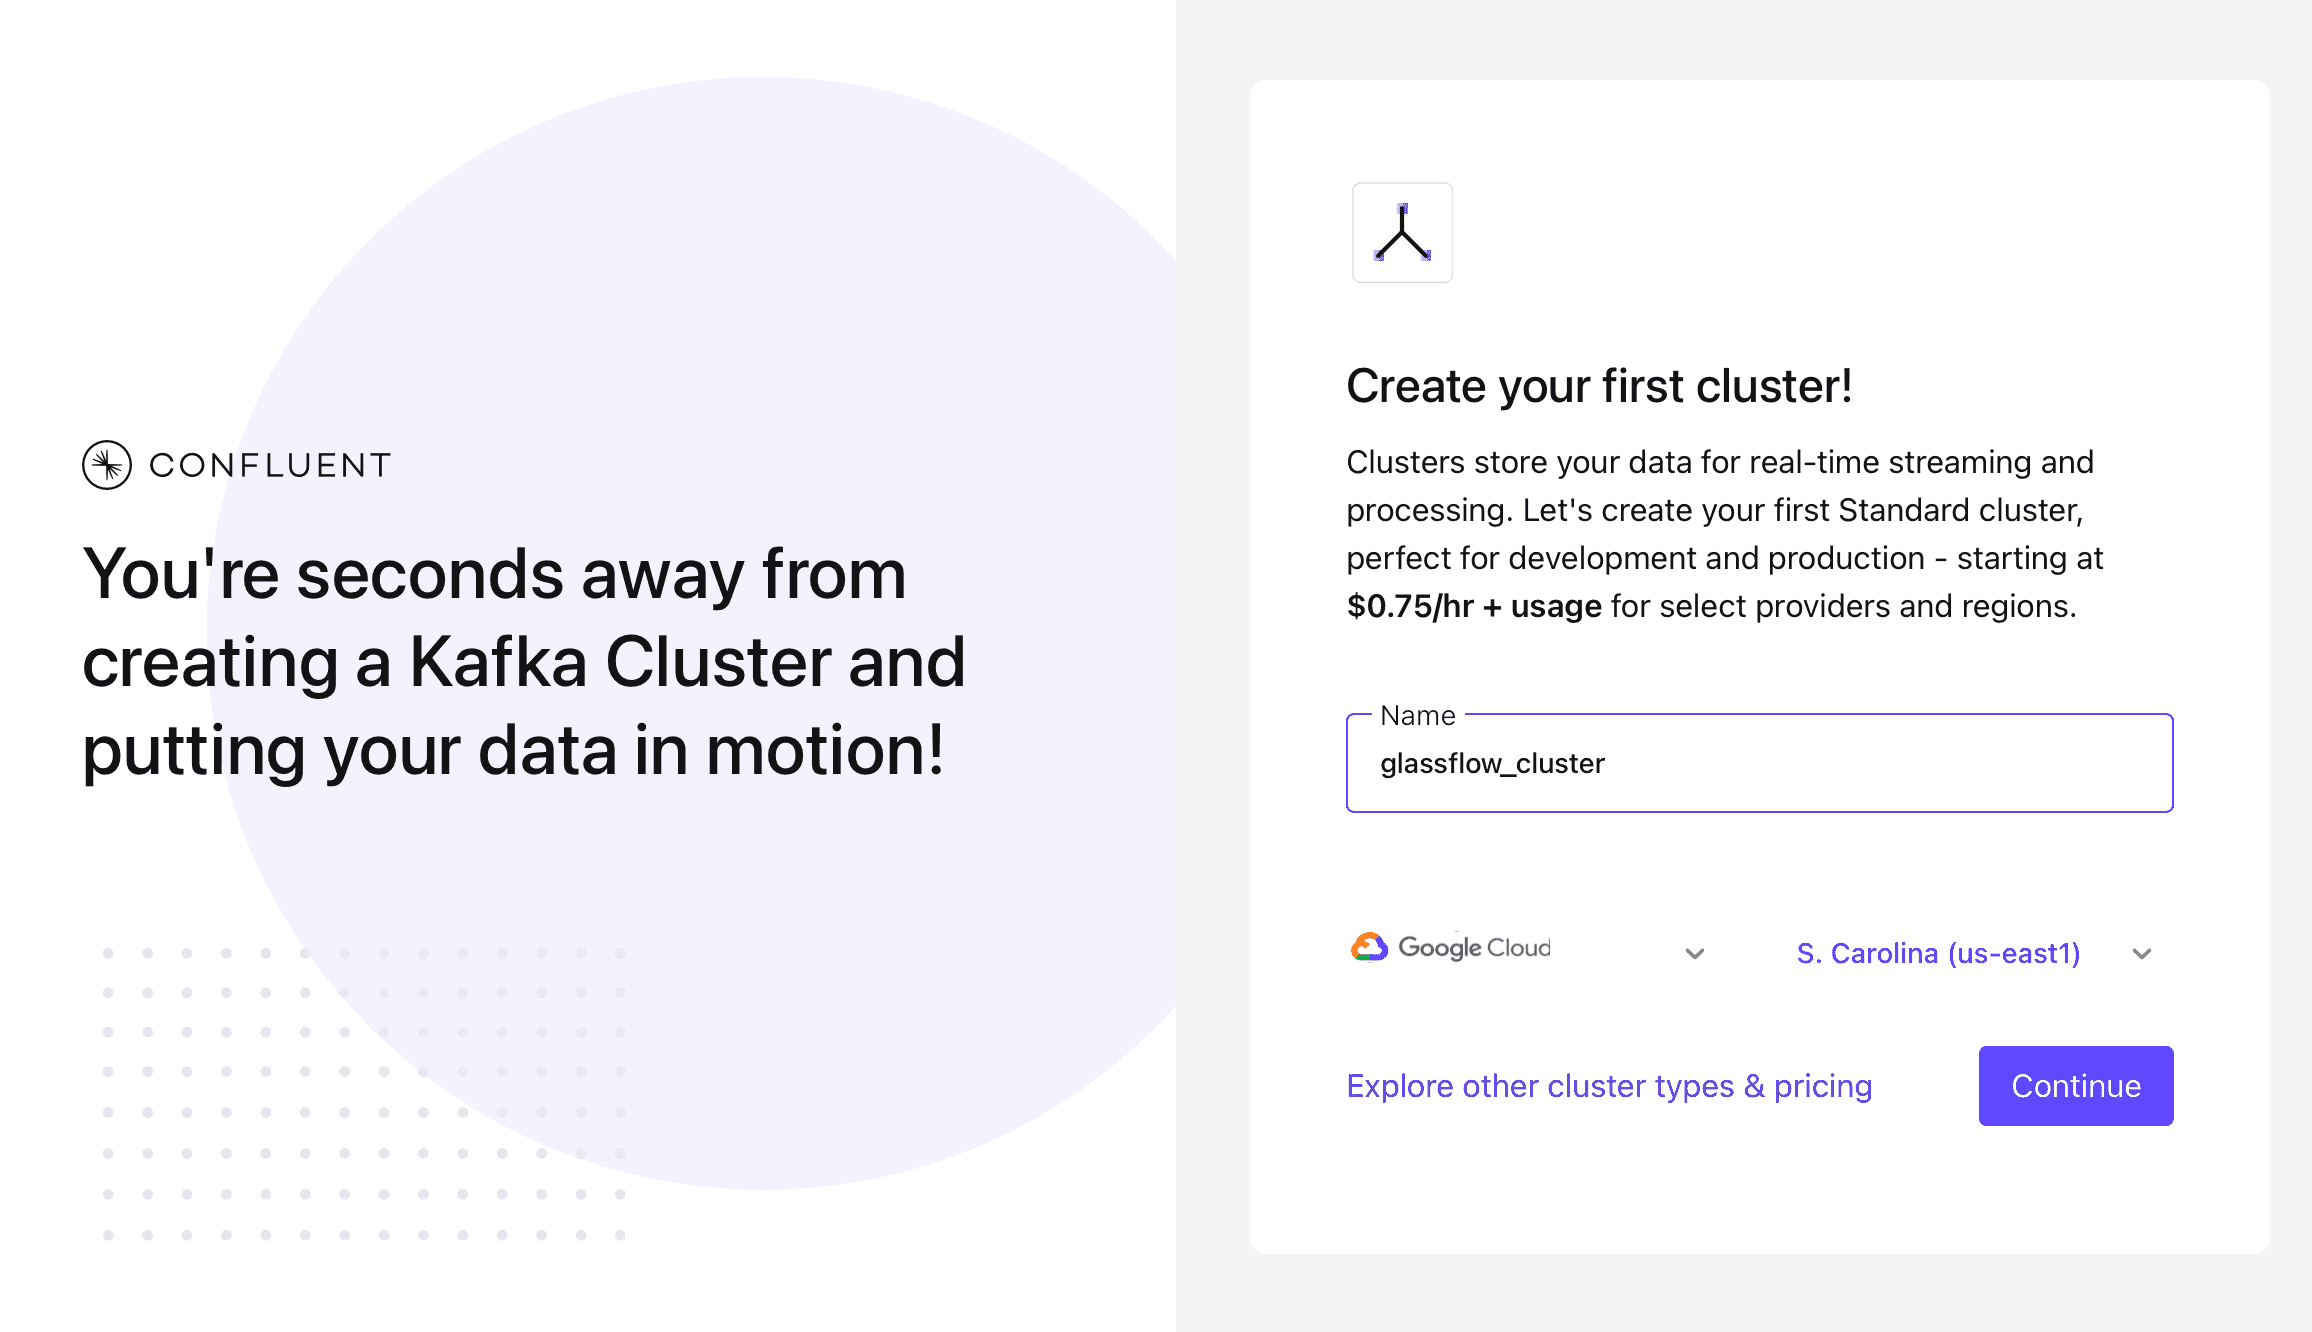
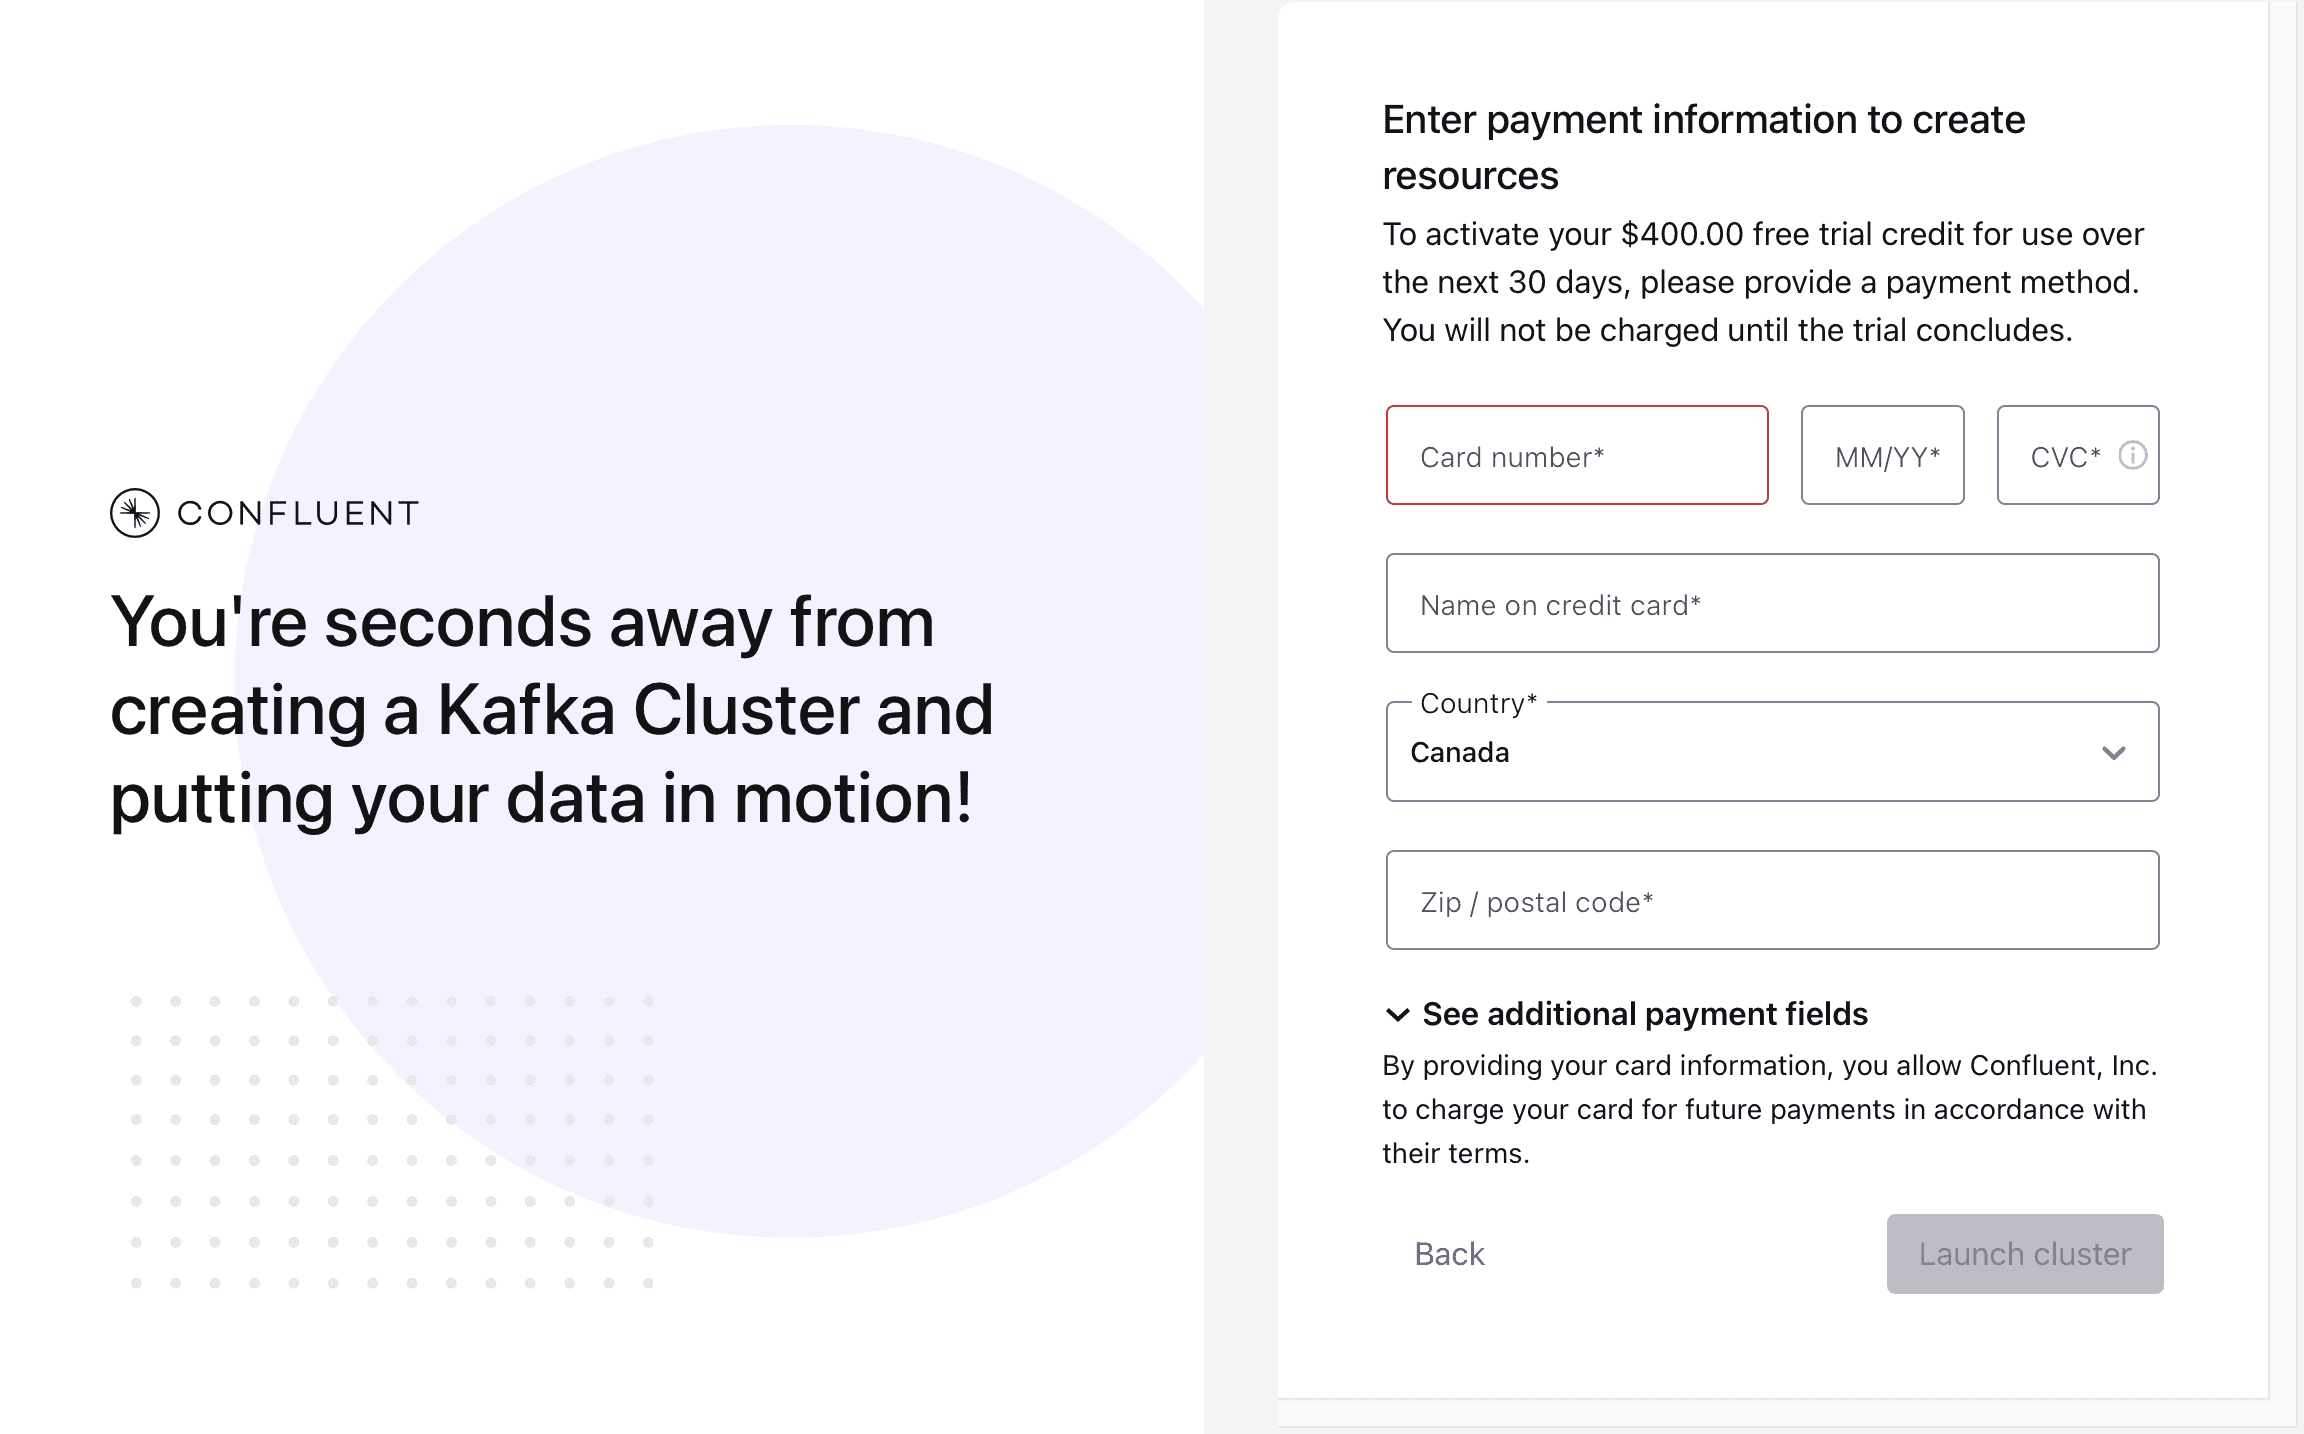
One last step you would have to do is add your payment information to activate the free trial. Don’t worry, you will not be charged anything until the first 30 days.
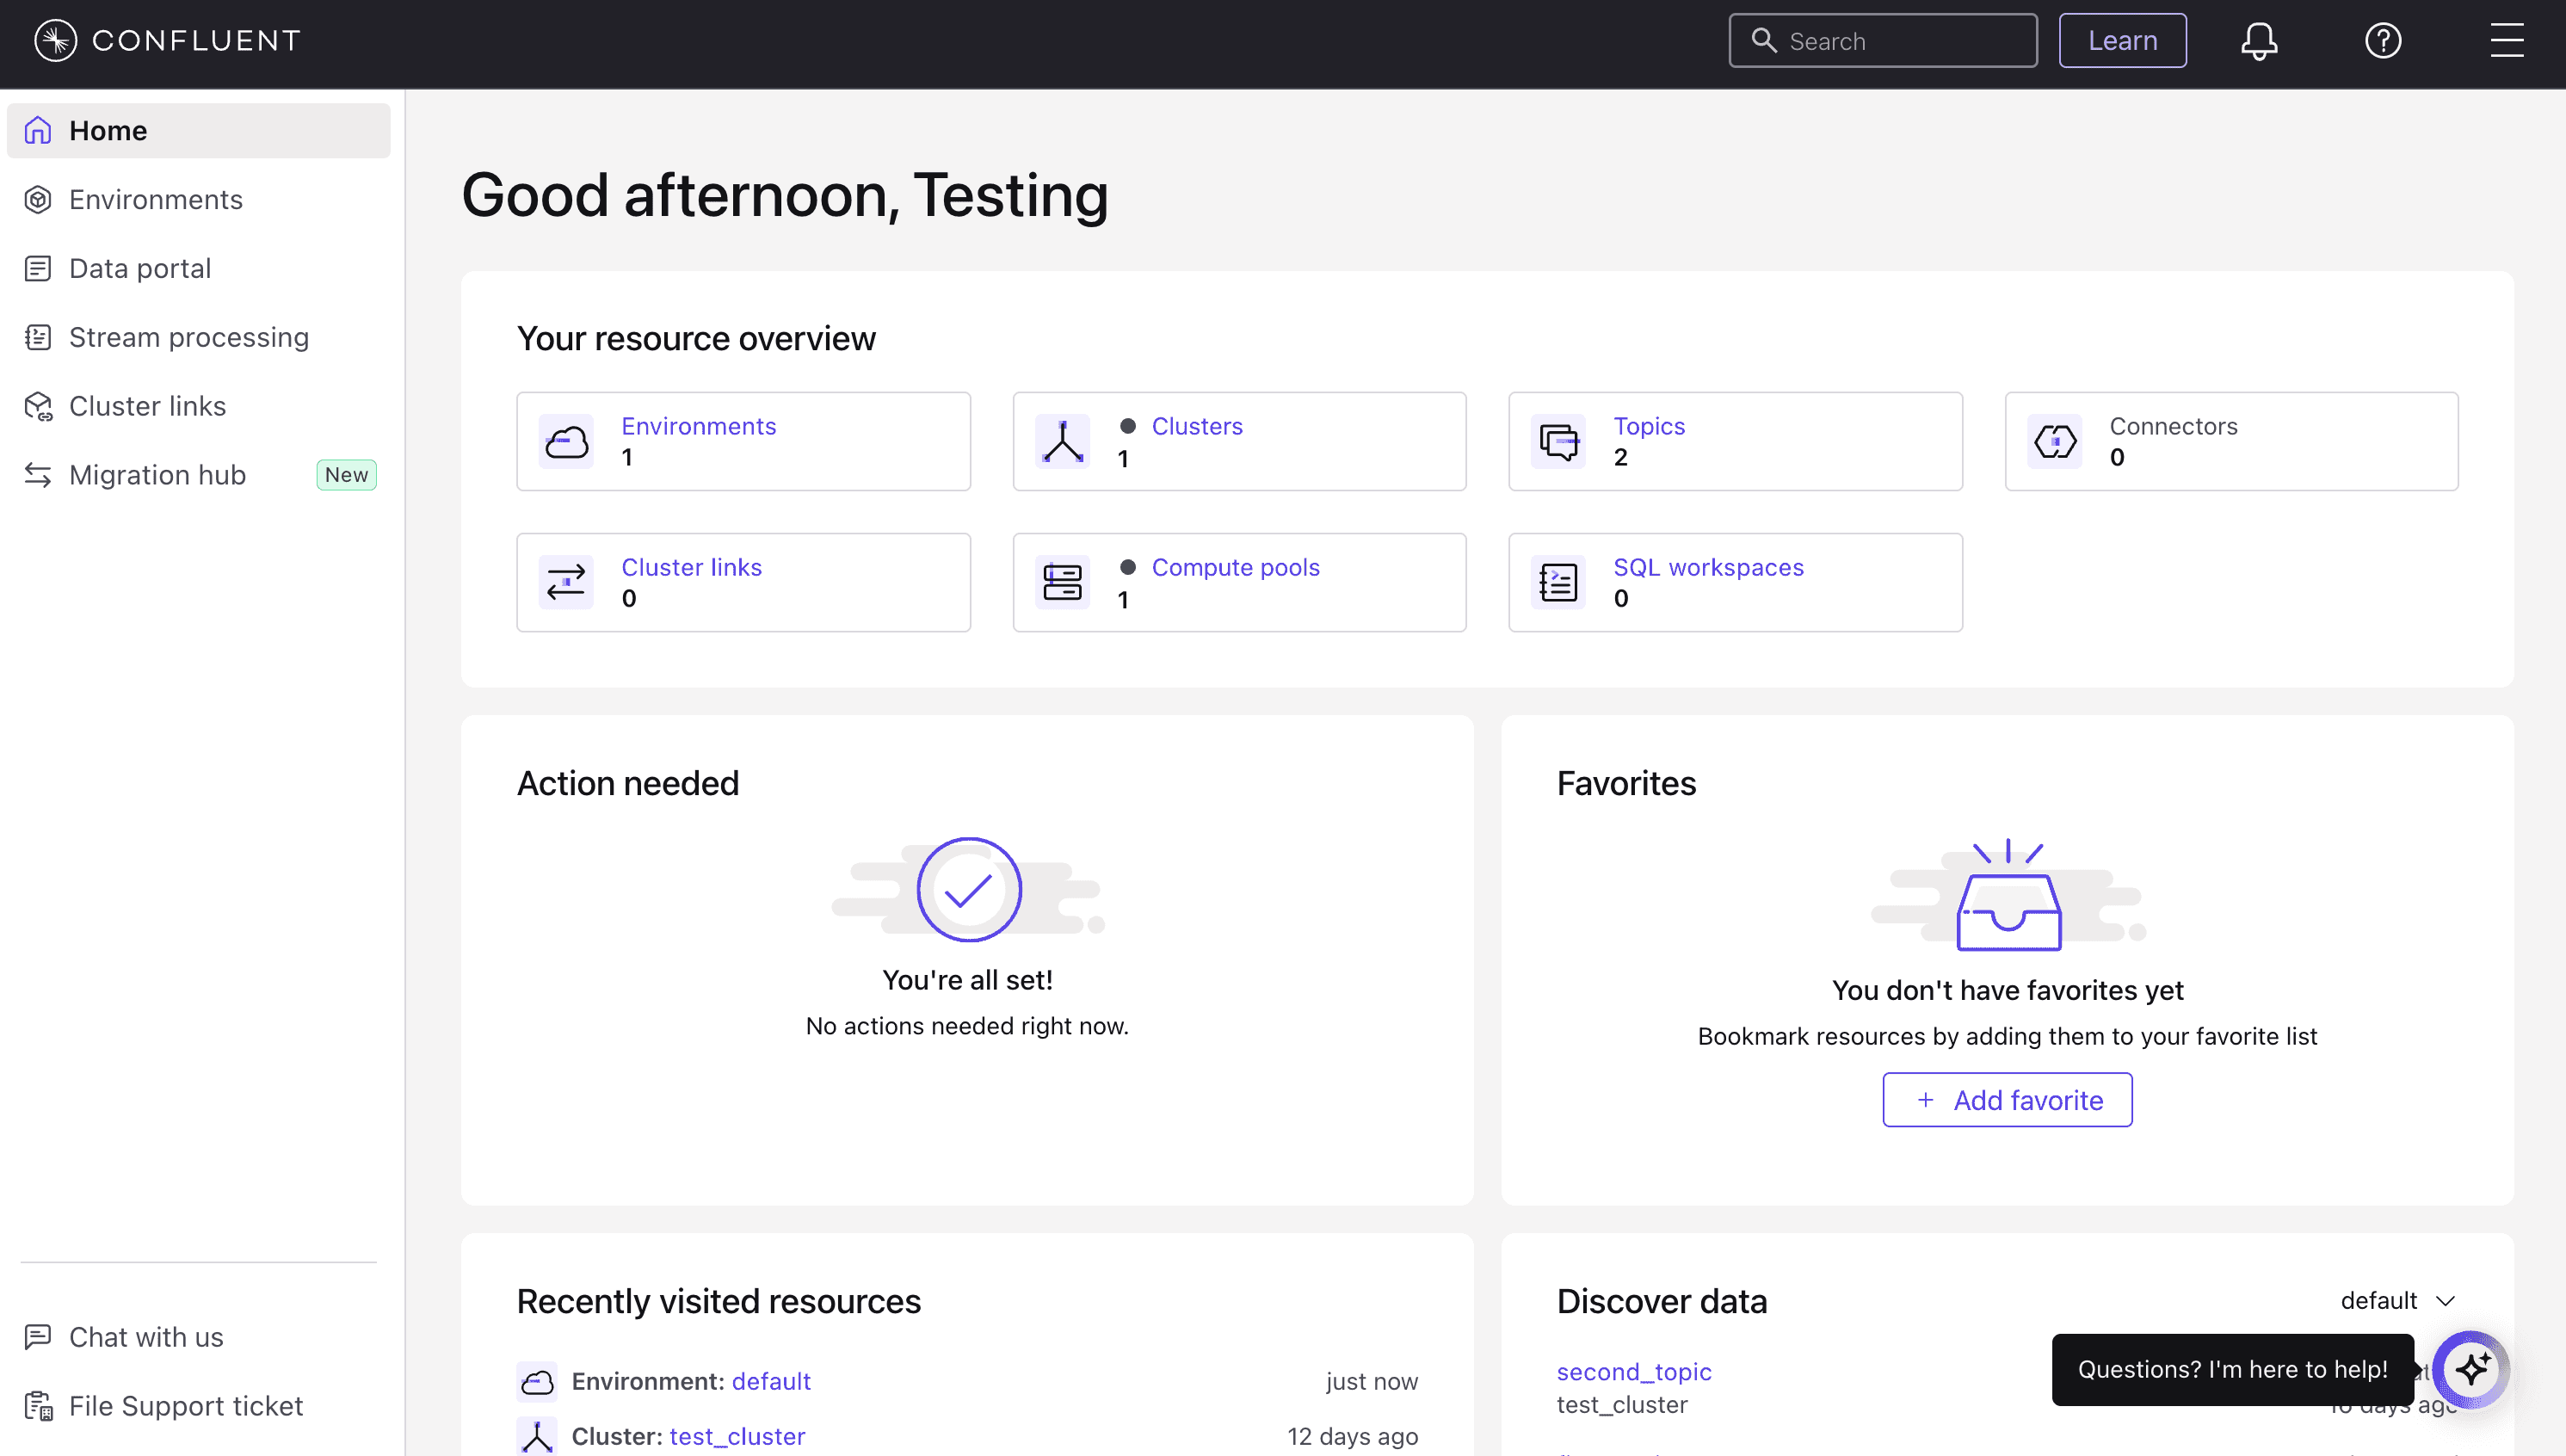
Wait for a few minutes and then your managed Kafka cluster should be up and running on Confluent. That was easy, right?
Now that we have our Kafka setup, let’s install and configure Glassgen on our local systems so that we can use it to generate some mock data for our deduplication pipeline.
1.2.2.3 Setting up Glassgen
GlassGen is a flexible synthetic data generation service that allows you to create realistic test data for your applications. It is a Python based application, which makes it really easy to setup anywhere you want.
To make things even easier, they have a simple Getting Started page in their documentation which you can follow to setup Glassgen on your local machine.
Once that is done, we are ready to install Glassflow on or system.
1.2.3 Installing and Setting Up Glassflow

Glassflow’s ClickHouse ETL allows up to setup production ready streaming pipelines for various use cases in minutes. Moreover, there are several options you have to set it up yourself:
Setting it up on an EC2 server (this can work on any cloud hosted server)
You can follow any of the above provided tutorials to setup Glassflow on your system. I am using the local docker deployment as it is the easiest for my to set up.
For a server based deployment that is hosted in a private VPC network, make sure that you have all the network related rules setup for various ports we would be using (for instance, 8080 for Glassflow UI, 9000 TCP port for ClickHouse Cloud, etc.)
Once you have everything setup, we are ready to start and build our first deduplication streaming pipeline from scratch! So, let’s get started.
1.3 First Streaming Pipeline with Glassflow
1.3.1 Experimental Setup
For this tutorial, we will be setting up our very first deduplication pipeline with Glassflow and use Confluent Kafka as a intermediary and ClickHouse as the destination for our data. We will use the same dataset and experimental setup we used in the last article. To refresh your memory, here is the data design we used (we mimic a real-time user transaction status log):
COLUMN | TYPE | DESCRIPTION |
|---|---|---|
| String | Unique ID |
| String | Version of the transaction (0,1,2) |
| String | User’s Name |
| String | Transaction status (e.g., 'pass', 'fail') |
| Int64 | When the transaction occurred |
Apart from this, we will be using Glassgen and Glassflow on our local environment. Here are the specifications of my device:
Specification | Details |
|---|---|
Model Name | MacBook Pro |
Model Identifier | Mac14,5 |
Chip | Apple M1 Pro |
Total Number of Cores | 8 (6 performance and 2 efficiency) |
Memory | 16 GB |
1.3.2 Setting up ClickHouse, Kafka and Glassgen
1.3.2.1 ClickHouse
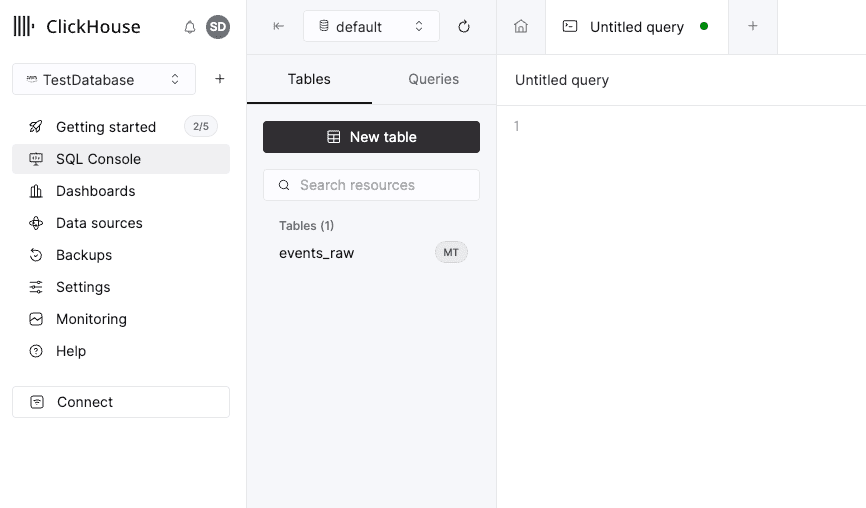
Now, before we setup our pipeline, we will have setup a few things. First one is to create this table in ClickHouse. Here is the query you can execute on your ClickHouse Cloud environment:
You can do this from the SQL console and you should see your table in the Tables section once you are done:
1.3.2.2 Confluent Kafka
Moreover, we will also need a topic in Kafka so that we can use that while configuring our pipeline. That is also quite easy to do and you can follow this tutorial by Confluent to do that.
After you have completed the creation process, you should see your topic listed as shown below:

1.3.2.3 Glassgen
Once you have Glassgen installed on your system, you can go through it’s documentation to know more about creating mock datasets and all the customization options it provides. For now, I will stick to the basics and use the same configuration we used on the previous article to compare Glassflow and ClickPipes:
Number of records: 250,000
Duplication Ratio: 20%
Glassgen Records per second: 50000
Duplication Key: id
Here is the Glassgen config file for the same:
Now, let’s create our Glassflow pipeline.
1.3.3 Creating the Deduplication Pipeline
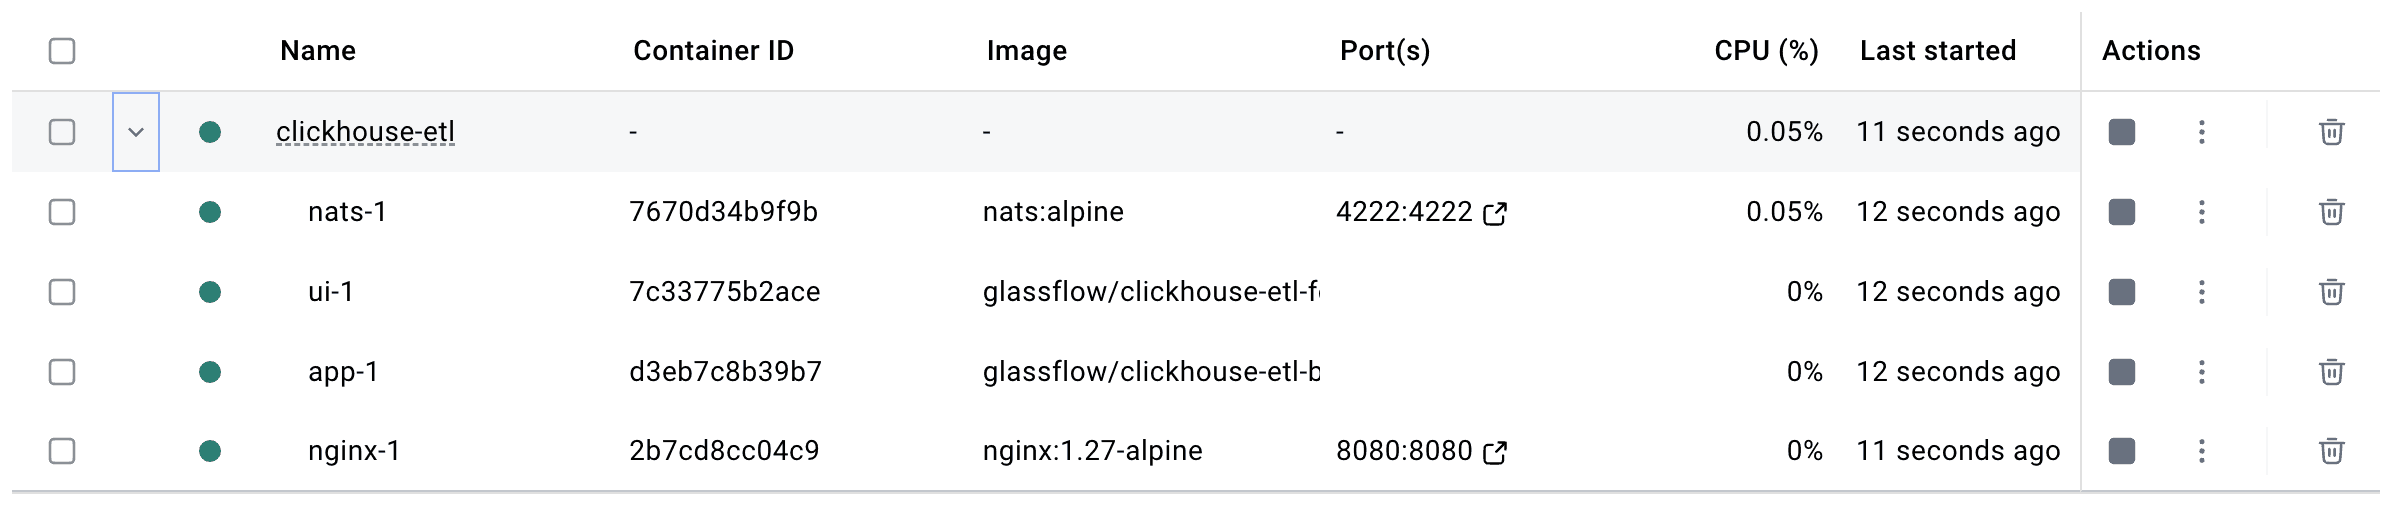
Note that as stated before, we will be using Docker for Glassflow setup. If you followed the setup process above, you should have Glassflow up and running with Docker Compose.
Now, follow the steps given below to configure your first pipeline:
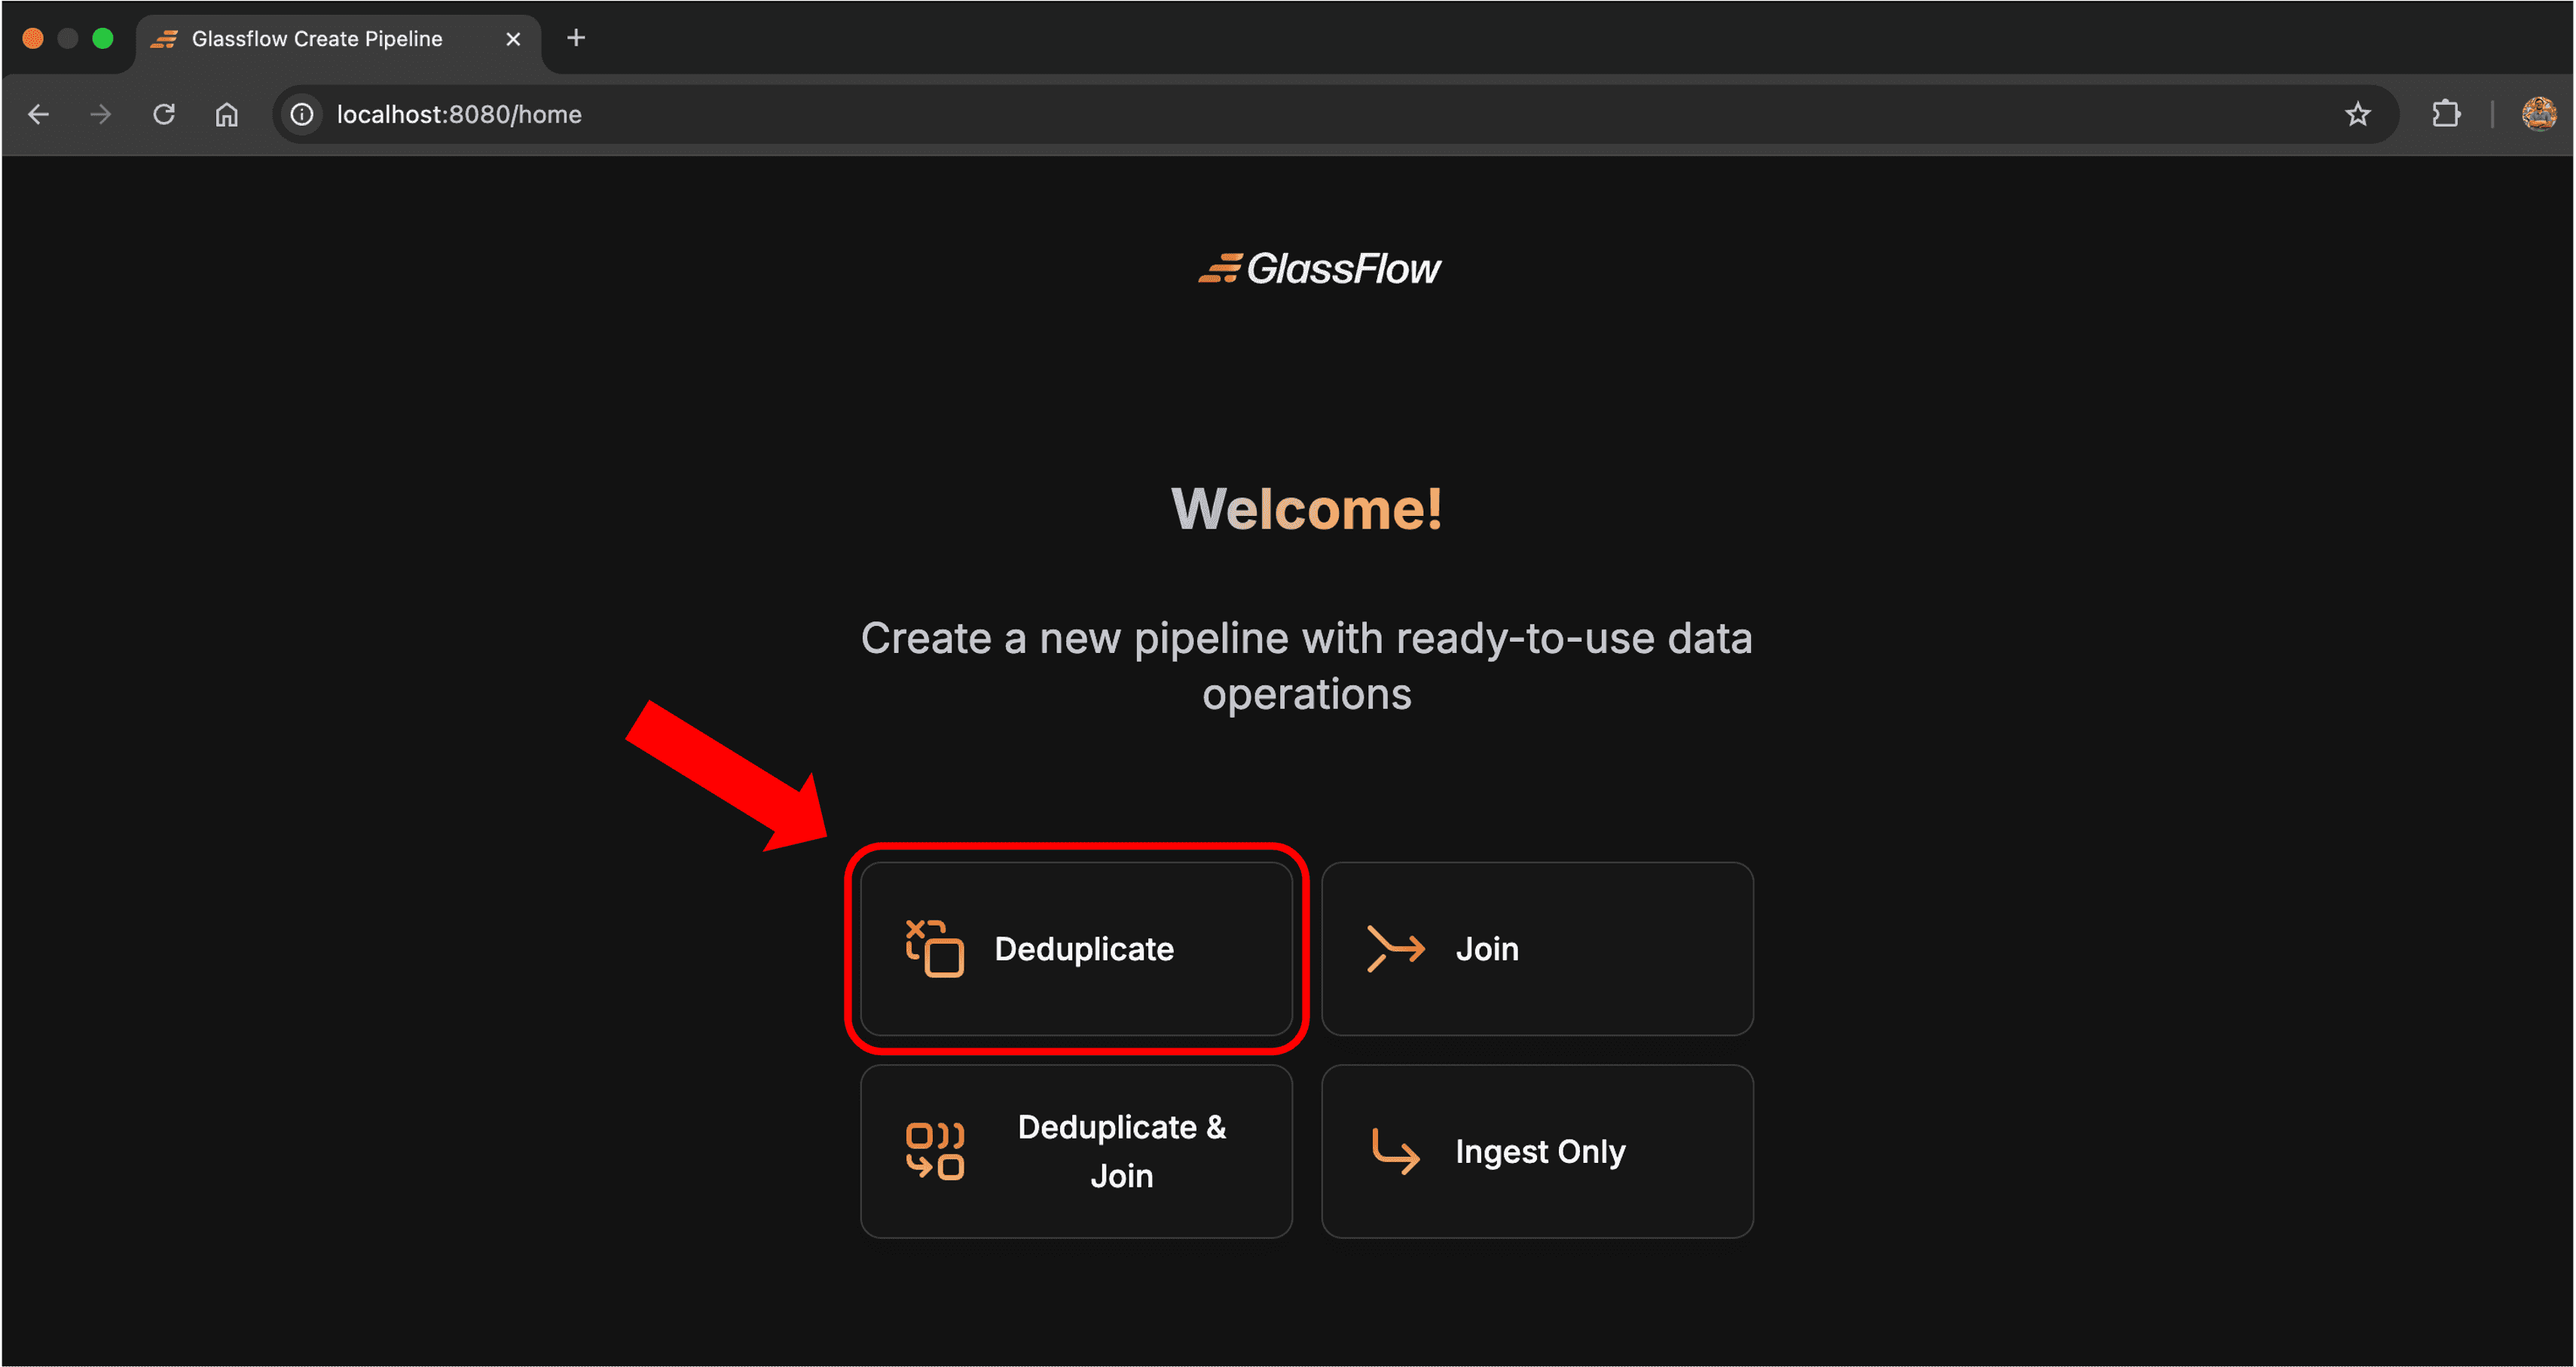
First, open the web interface for Glassflow. You should be able to open it by going to the following URL: http://localhost:8080 and select the Deduplicate option as we are going to configure a deduplication pipeline.
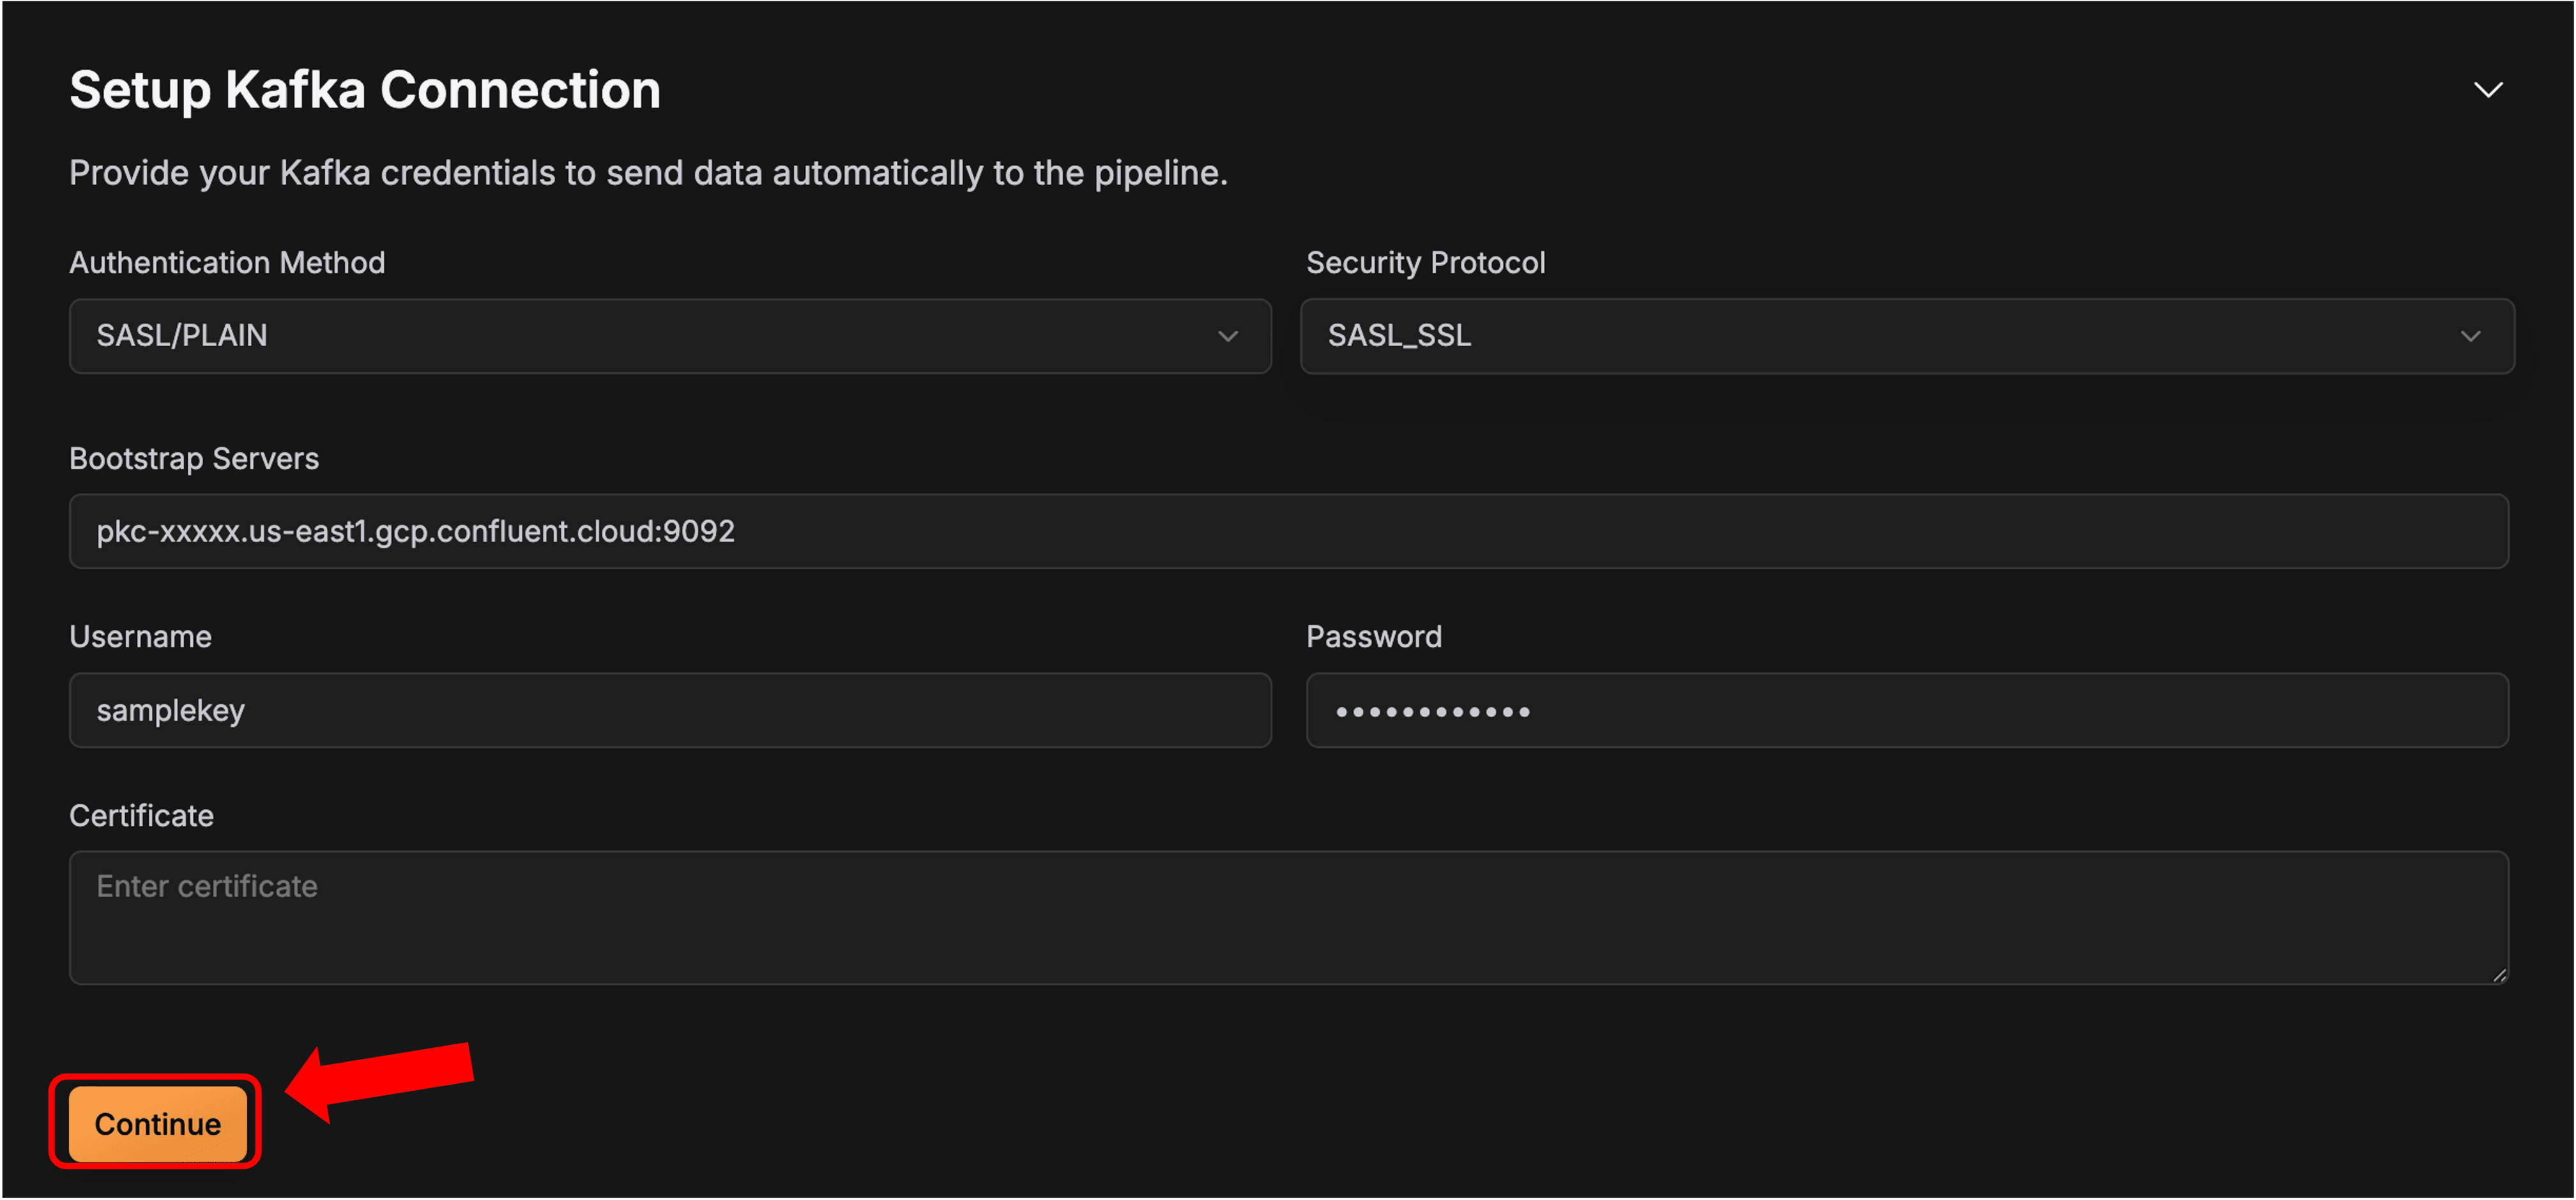
This will start the creation process. The first thing that you need to do is Setup the Kafka Connection. We will use the SASL_SSL security protocol and keep the certificate blank. You will need the following from Confluent: Bootstrap Server URL (you can find this in Cluster Settings section) and API Key and Secret (check this for reference). Once you have everything, just fill in the required information and press Continue.
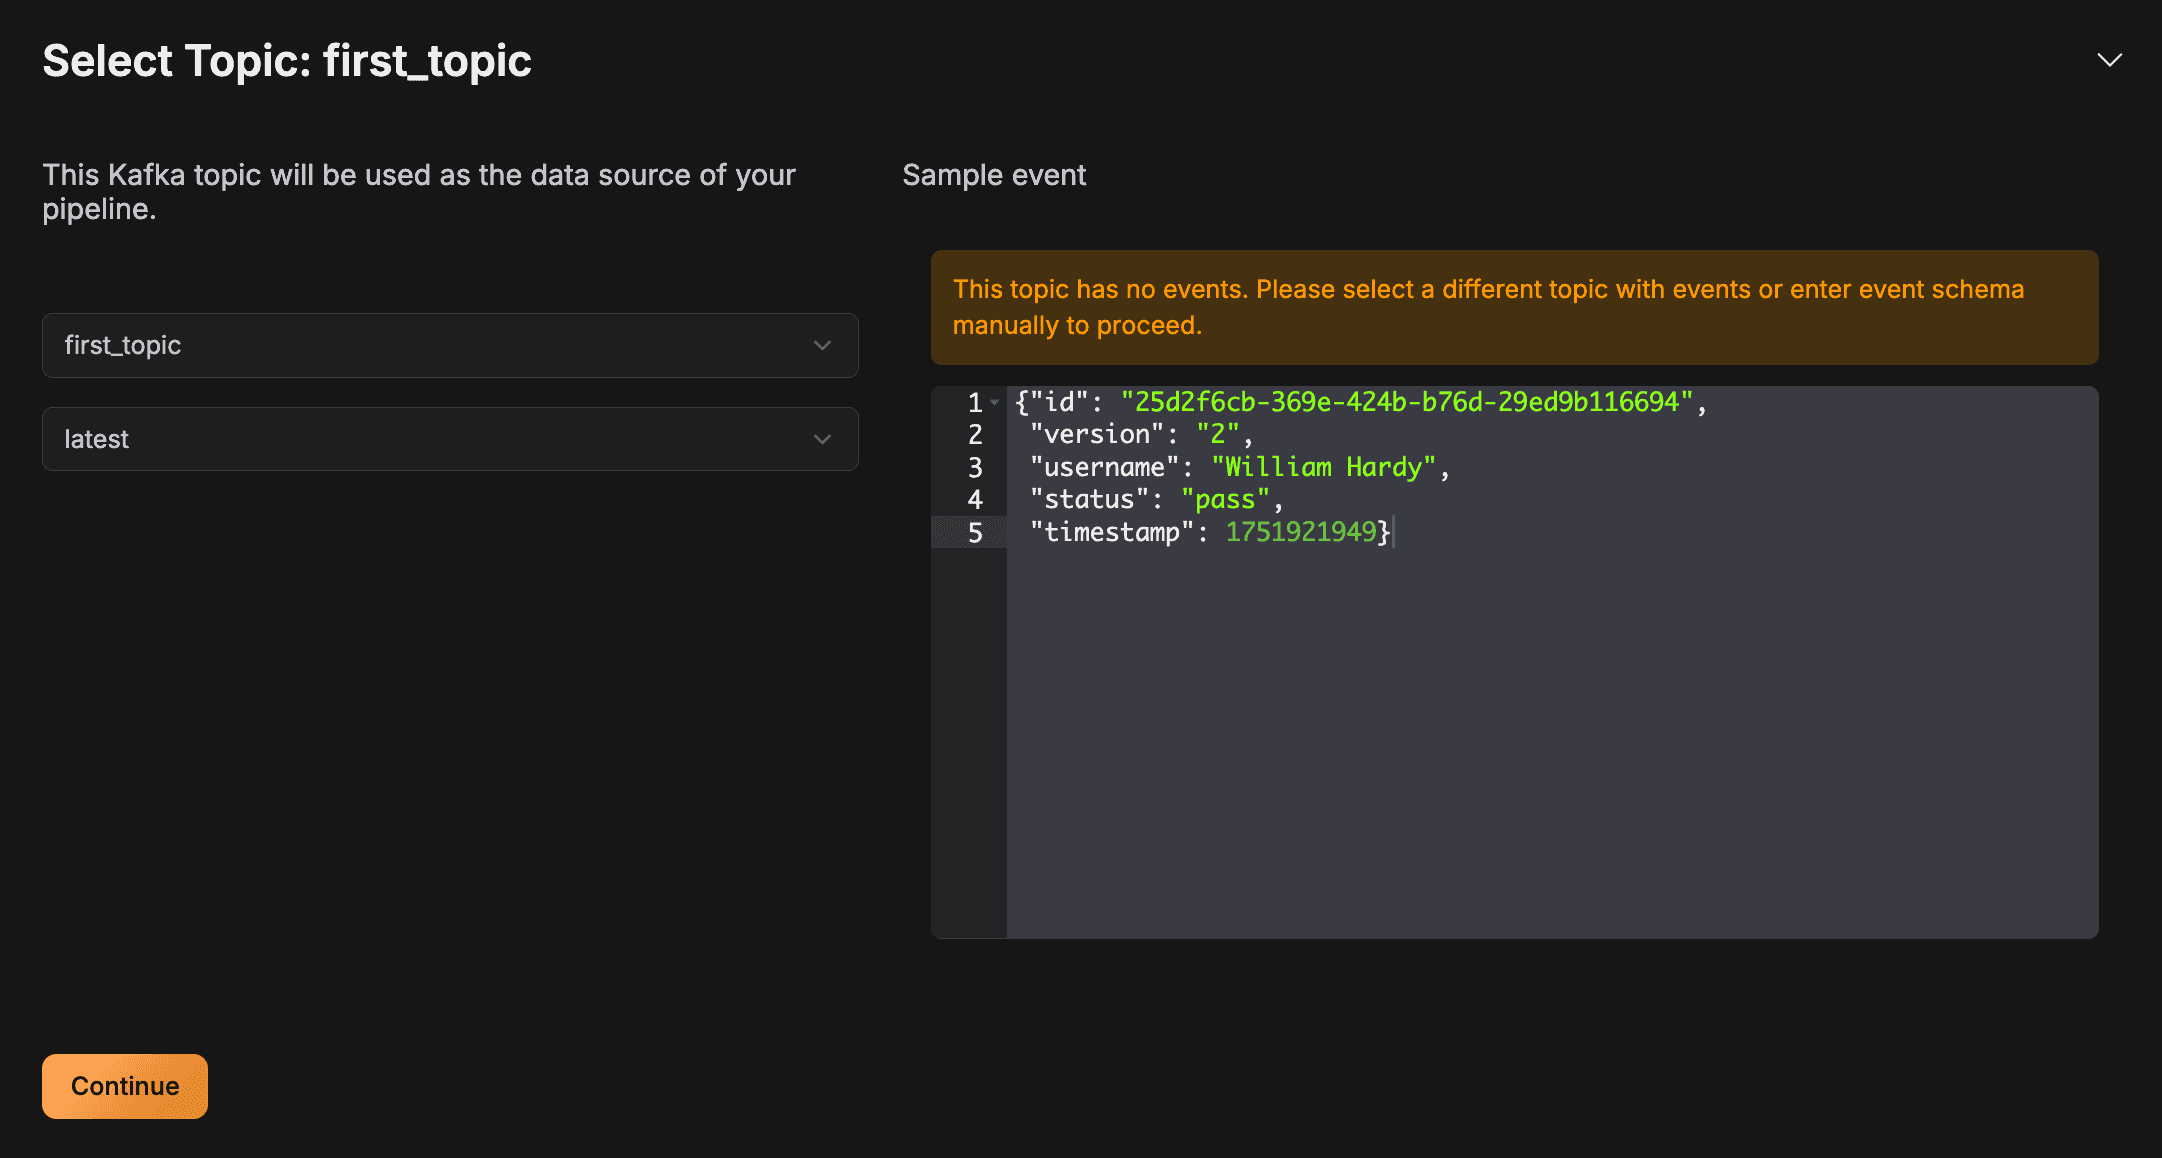
Next, you will be asked to choose the topic you want to receive your data stream. Choose the topic you might have created in the last step (you should see it in the drop down). Now, it will ask for the event schema, which you won’t have. To get this, you can go to your Glassgen config and generate a single record and get that in JSON format. It will look something like this (you can use this directly as well):
Once you have added this, you can move onto the deduplication configuration part now.
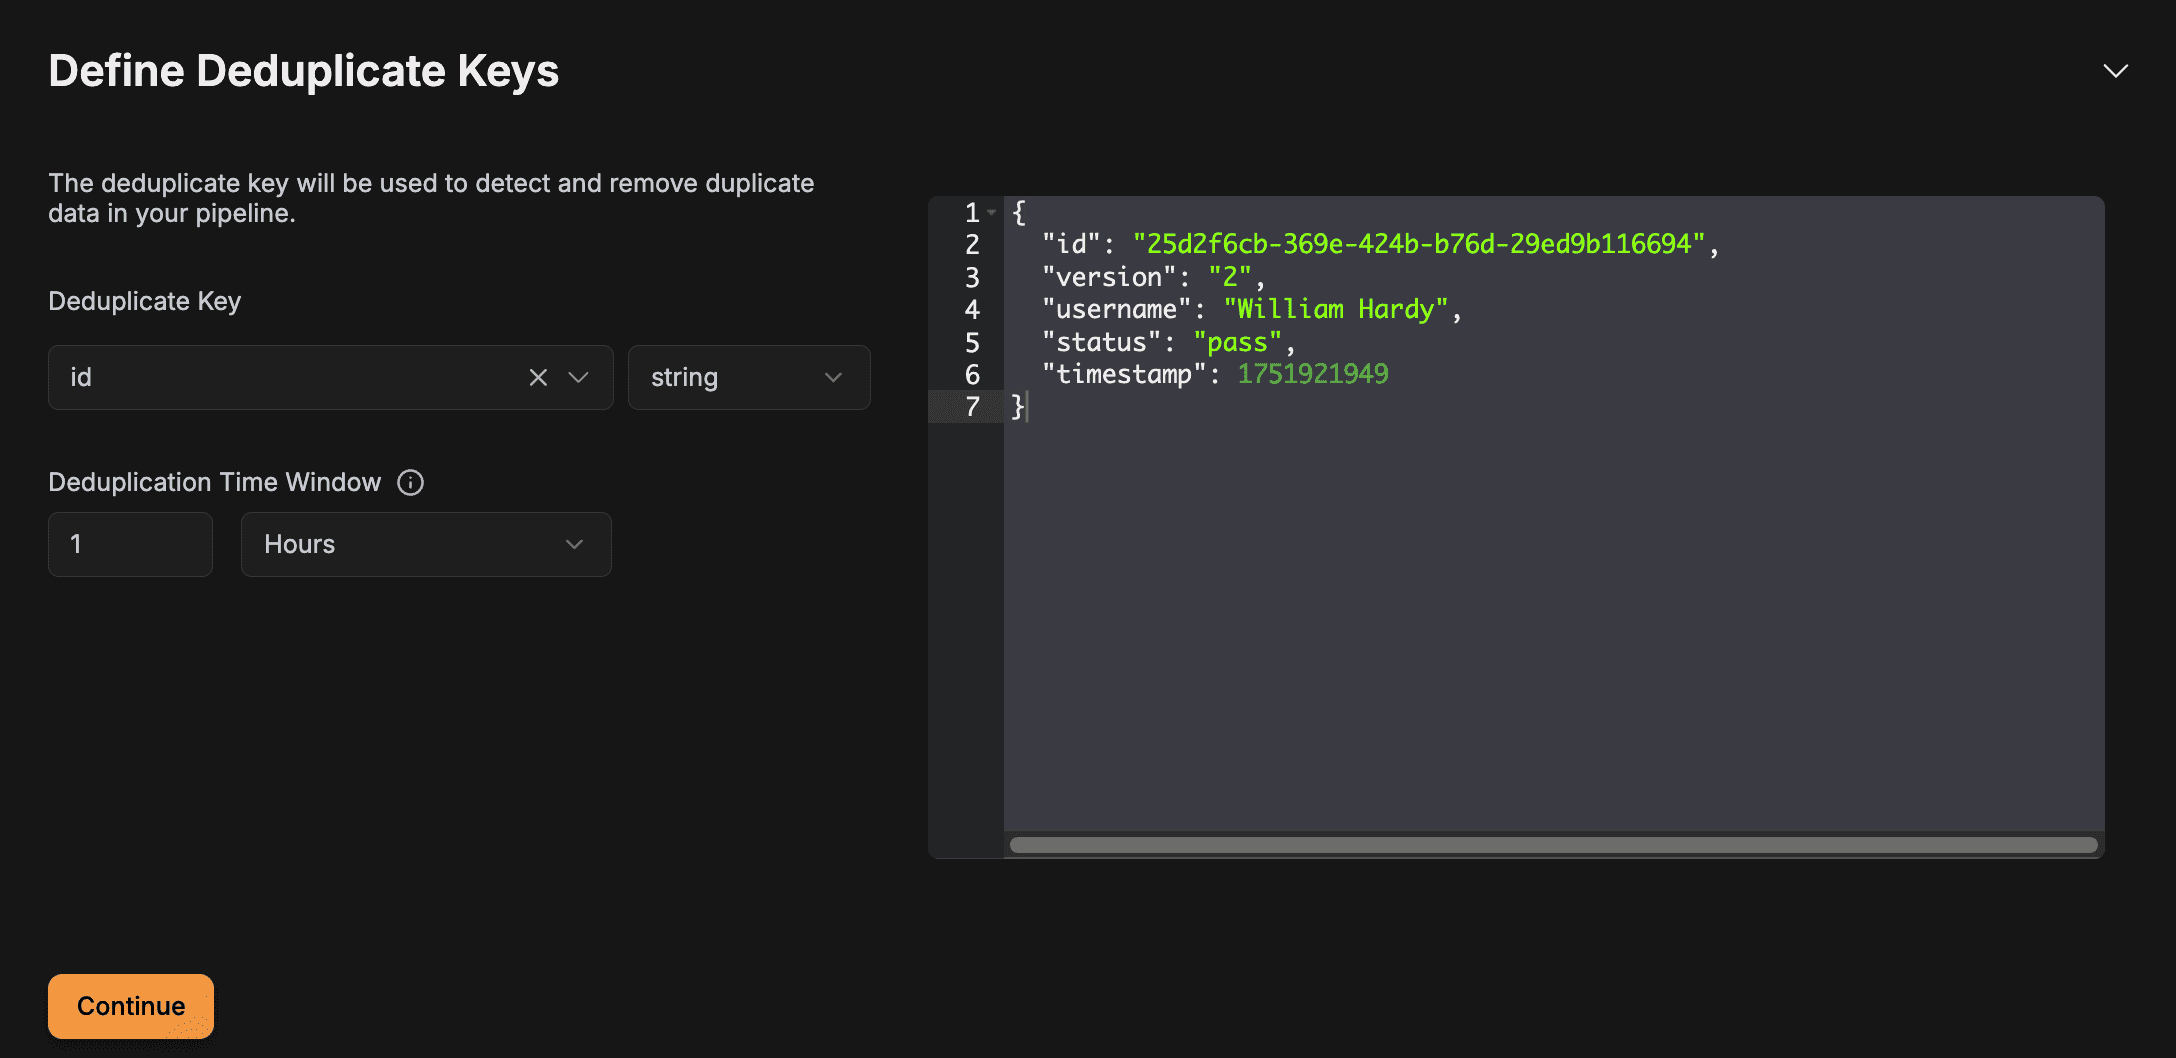
Here, you will define the deduplication key: id is what we are using for this tutorial. Select it from the dropdown and keep the deduplication window as is for now.
Finally, we have to configure our pipeline to connect with ClickHouse: our final destination where the deduplicated data will be stored. You can find all the information you need through the Connect button on the Console.
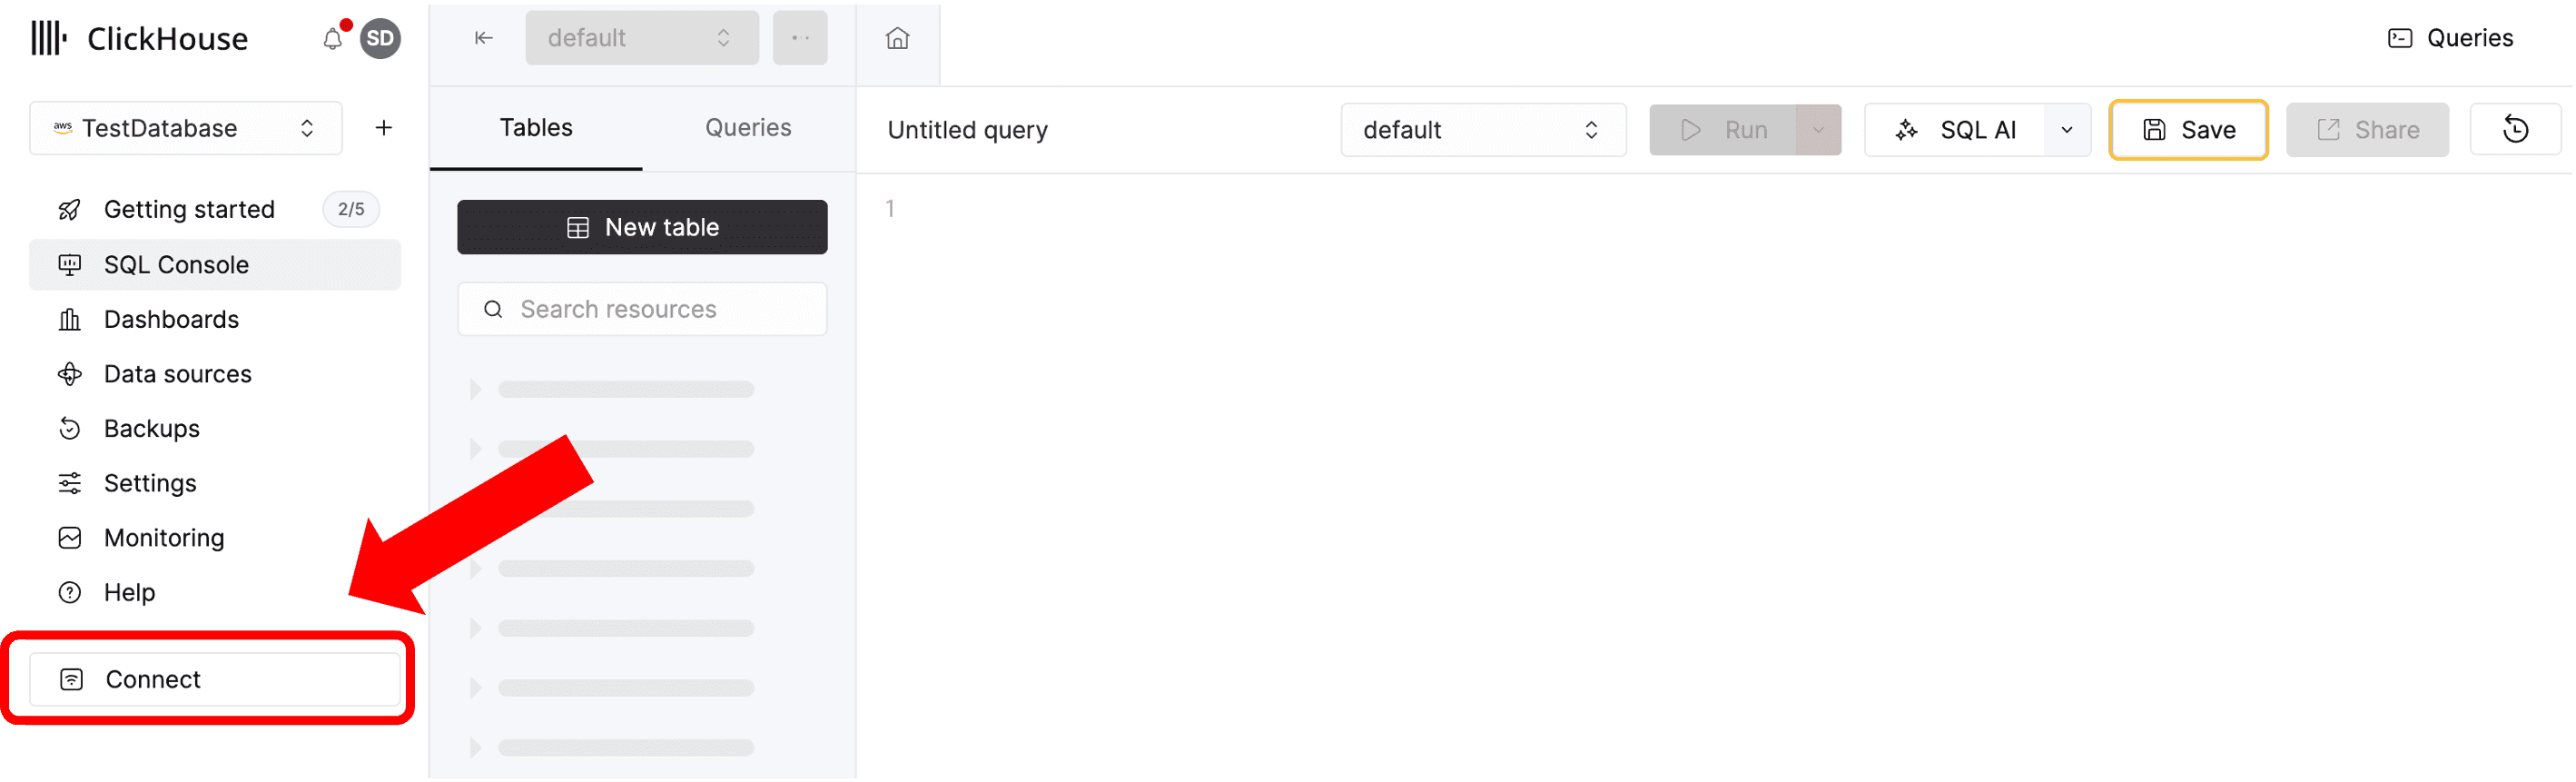
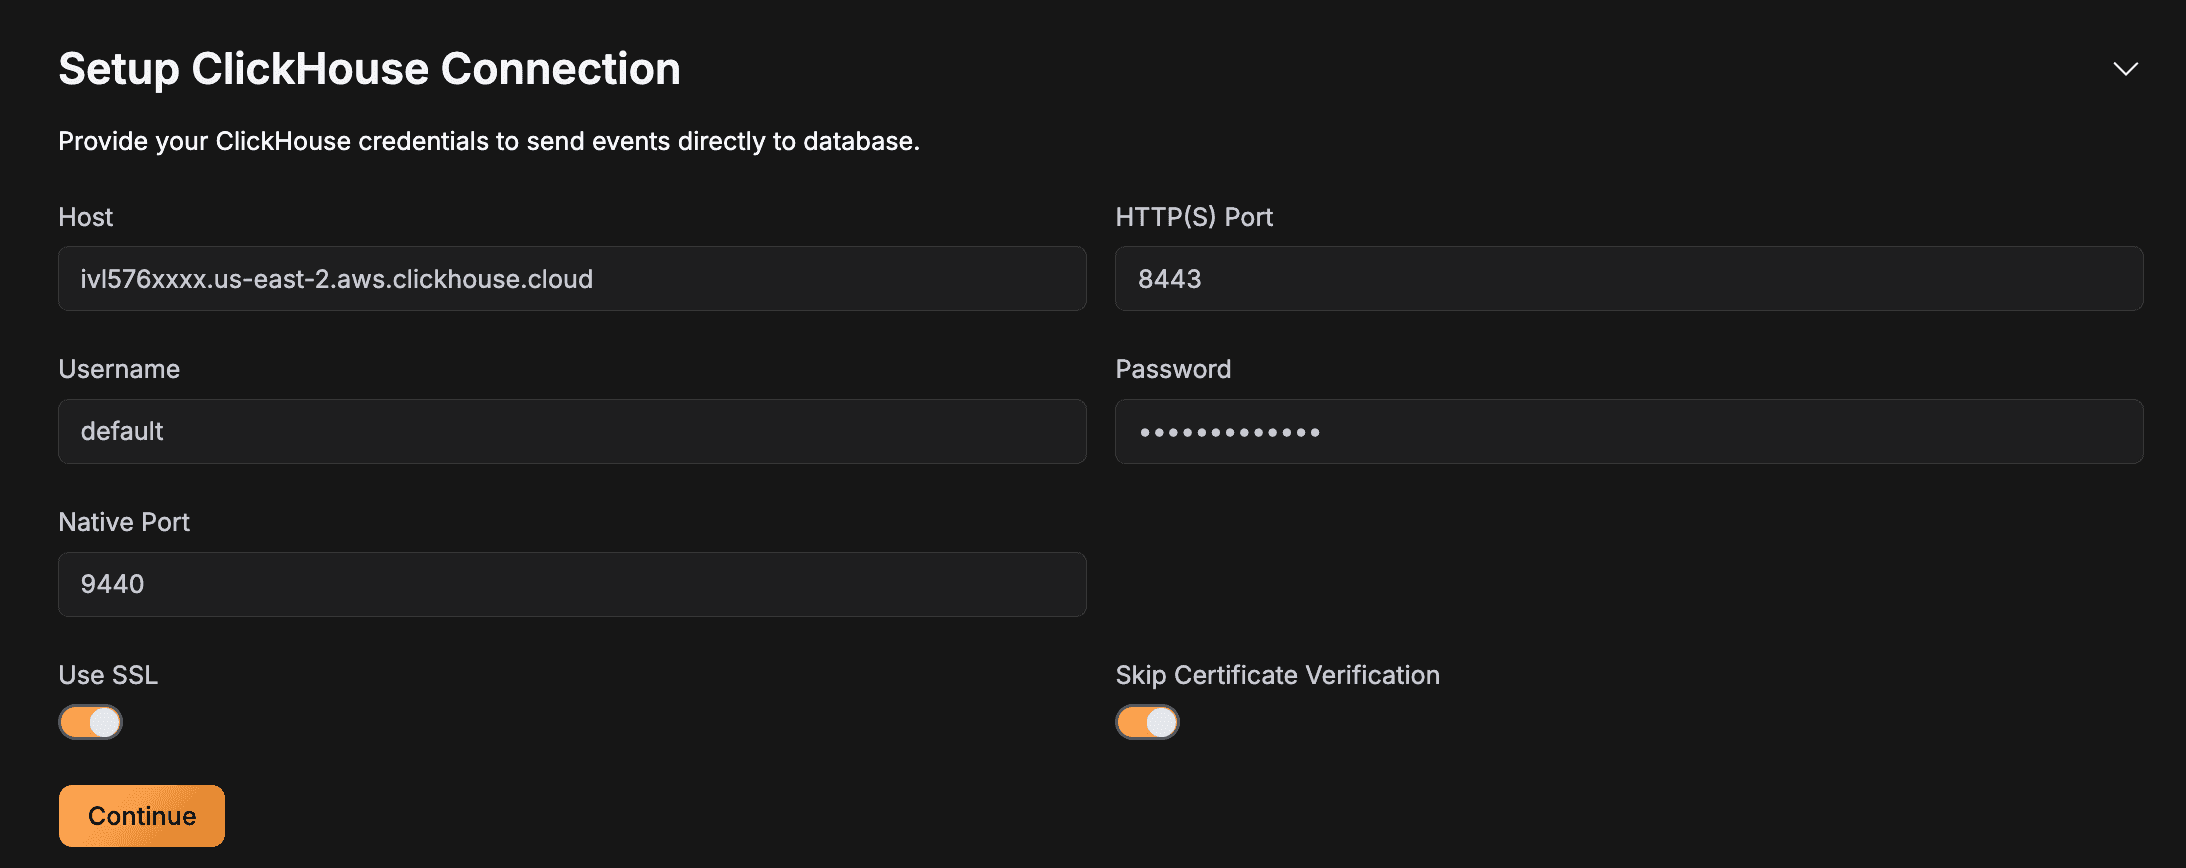
Pressing this will open a window with all the required values. You can press on the reset it option to generate a new password. Once you have done that, just add all the information in Glassflow (Keep SSL selected and for the ports, just add the example values as these are the defaults that ClickHouse uses) and press Continue.
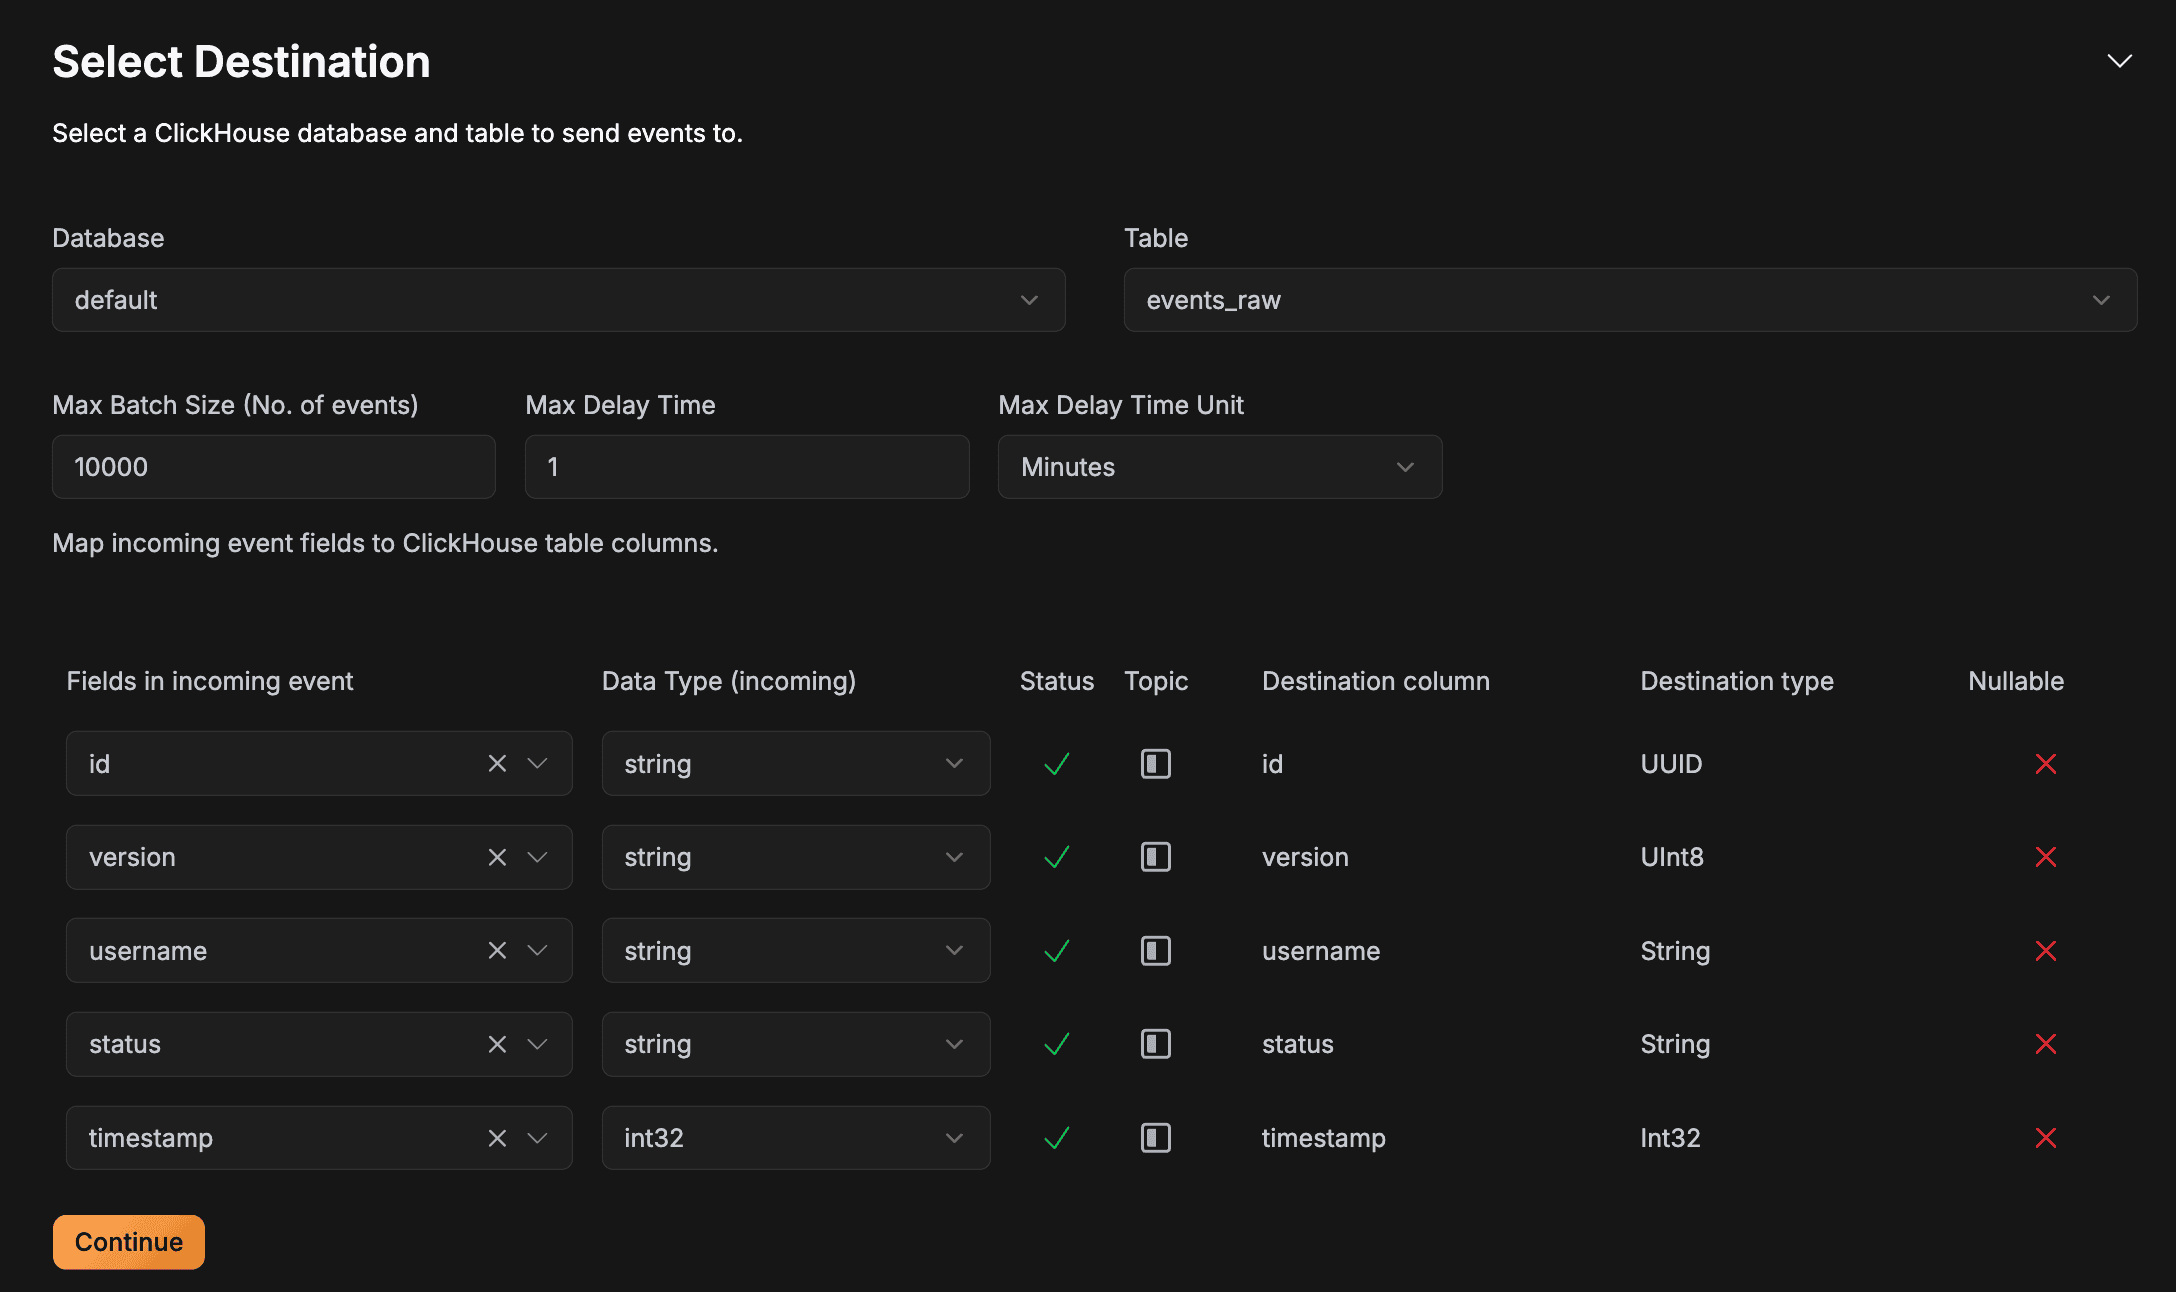
Now, we are at the final step! All we need to do is configure what table our data will be inserted into. First, select the database and table name and [IMPORTANT] configure the batch size (I have set it to 10,000 for now). Finally, map all the fields and press the Continue button.
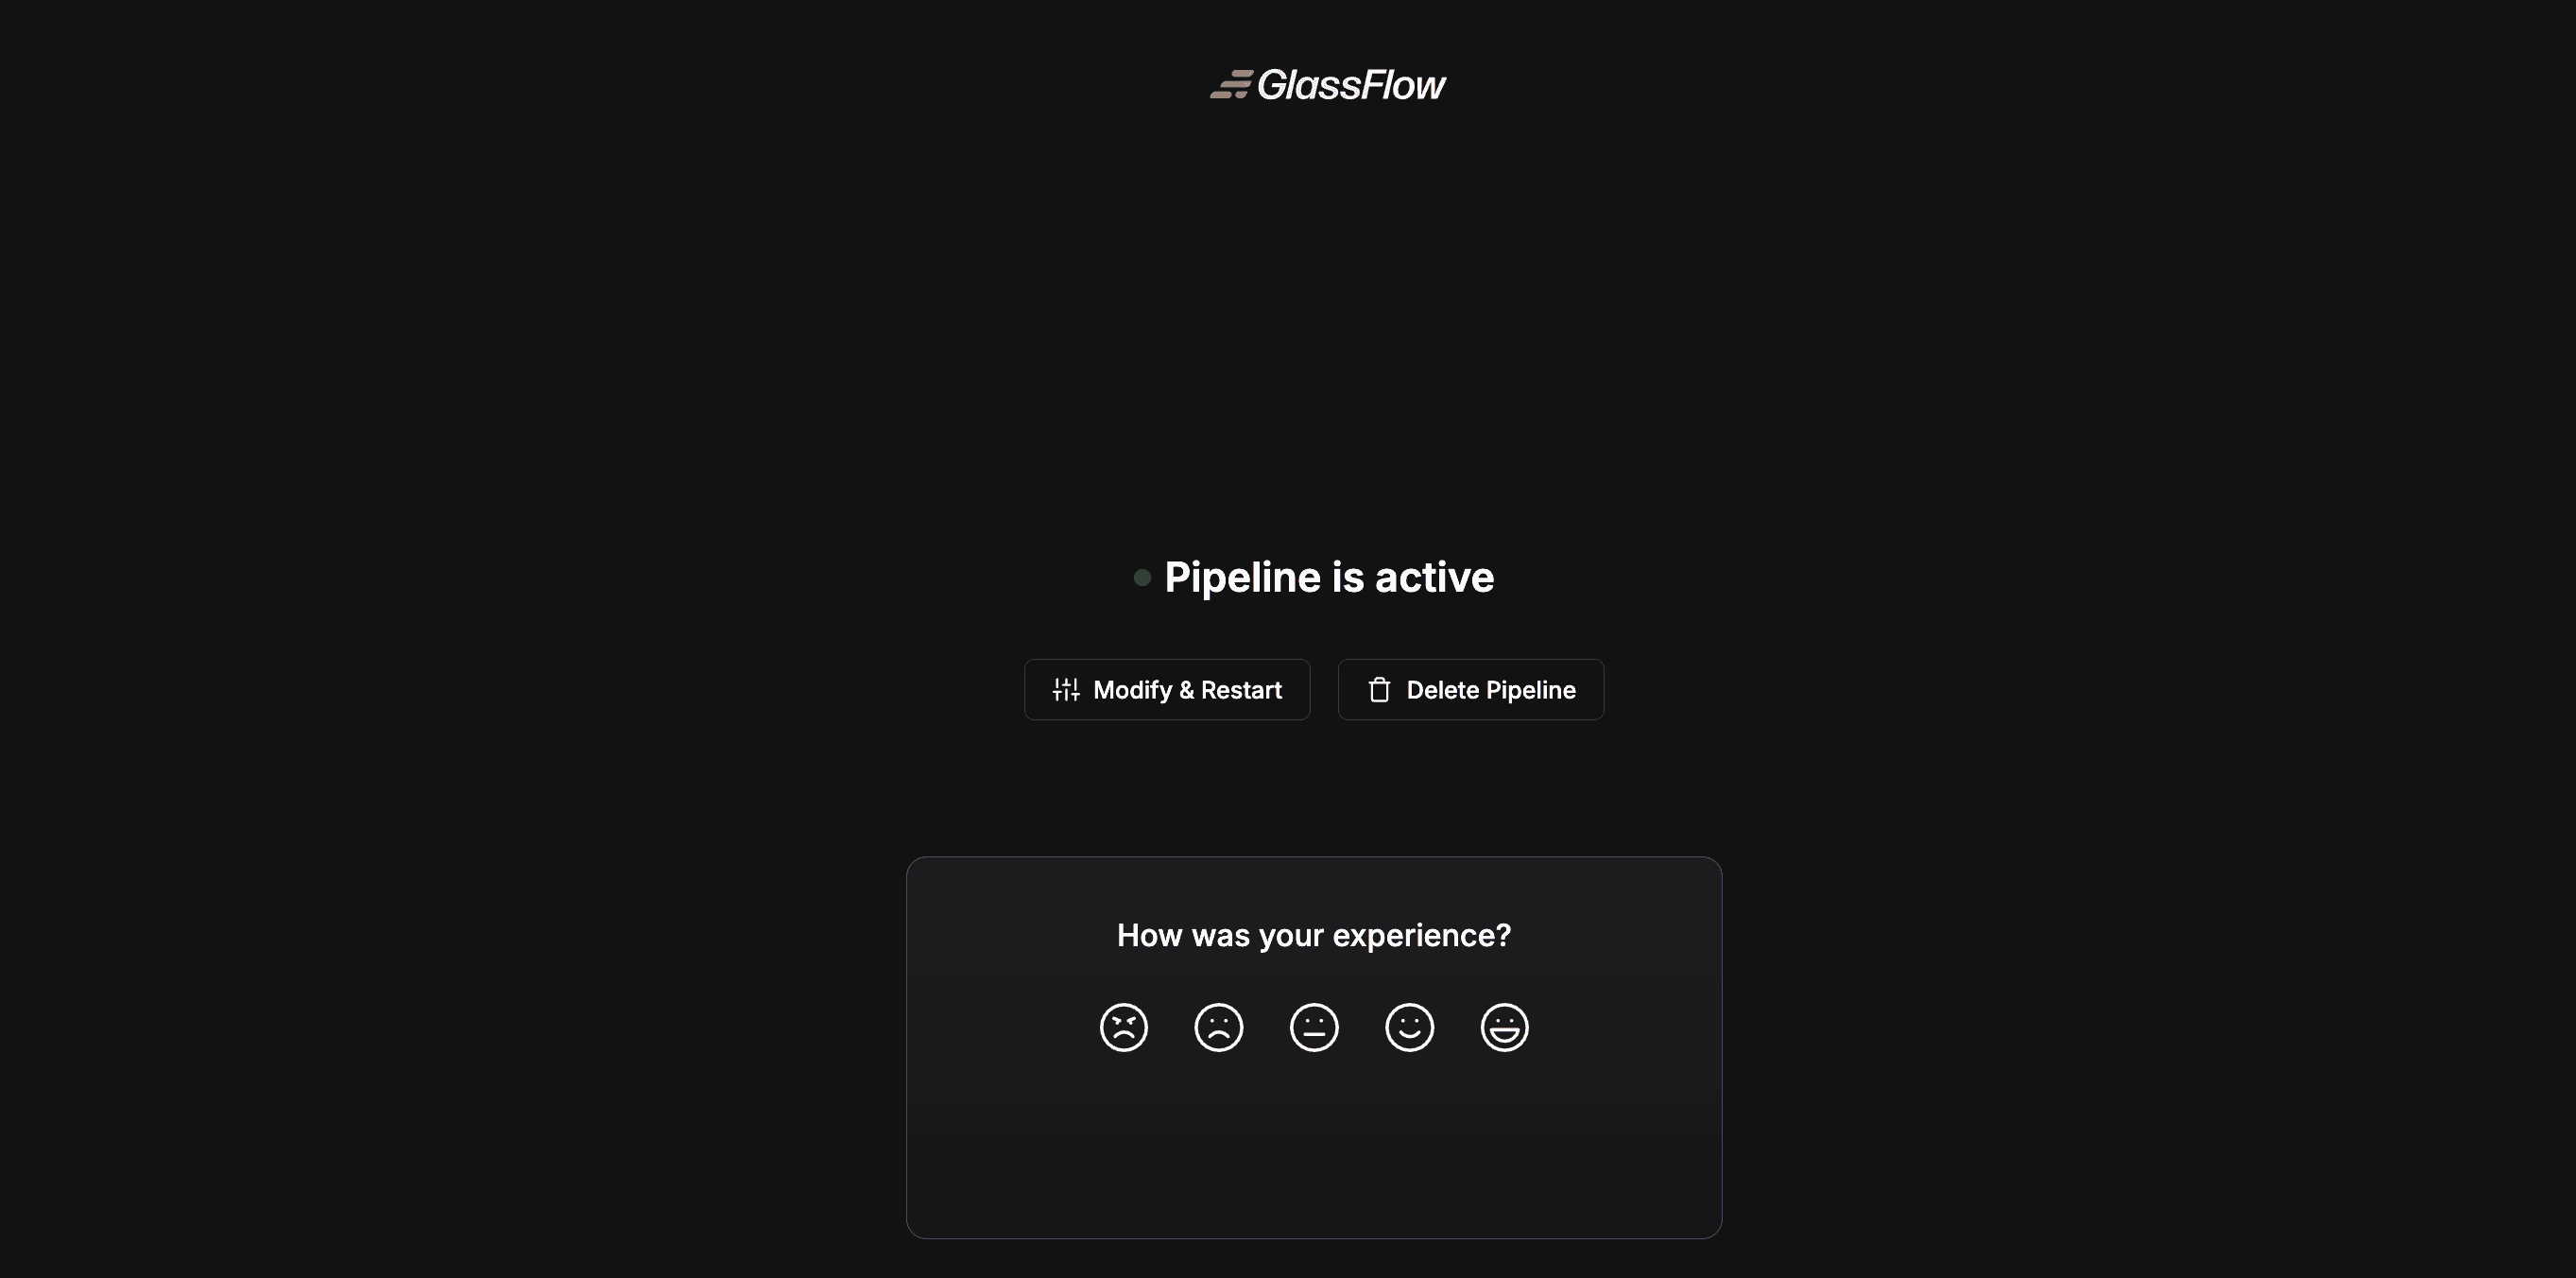
This completed the Pipeline creation process! You should see the following once you have completed the entire process, meaning that your first pipeline has successfully been deployed and is live now!
1.3.4 Seeing our Pipeline in Action
Now, to see our pipeline in action, we will stream some data to our configured Kafka topic and see how Glassflow performs the deduplication and adds the data into ClickHouse. To do this, you need to run the generate function in Glassgen with the config given above. That will generate 250,000 records out of which 20% will be duplicates.
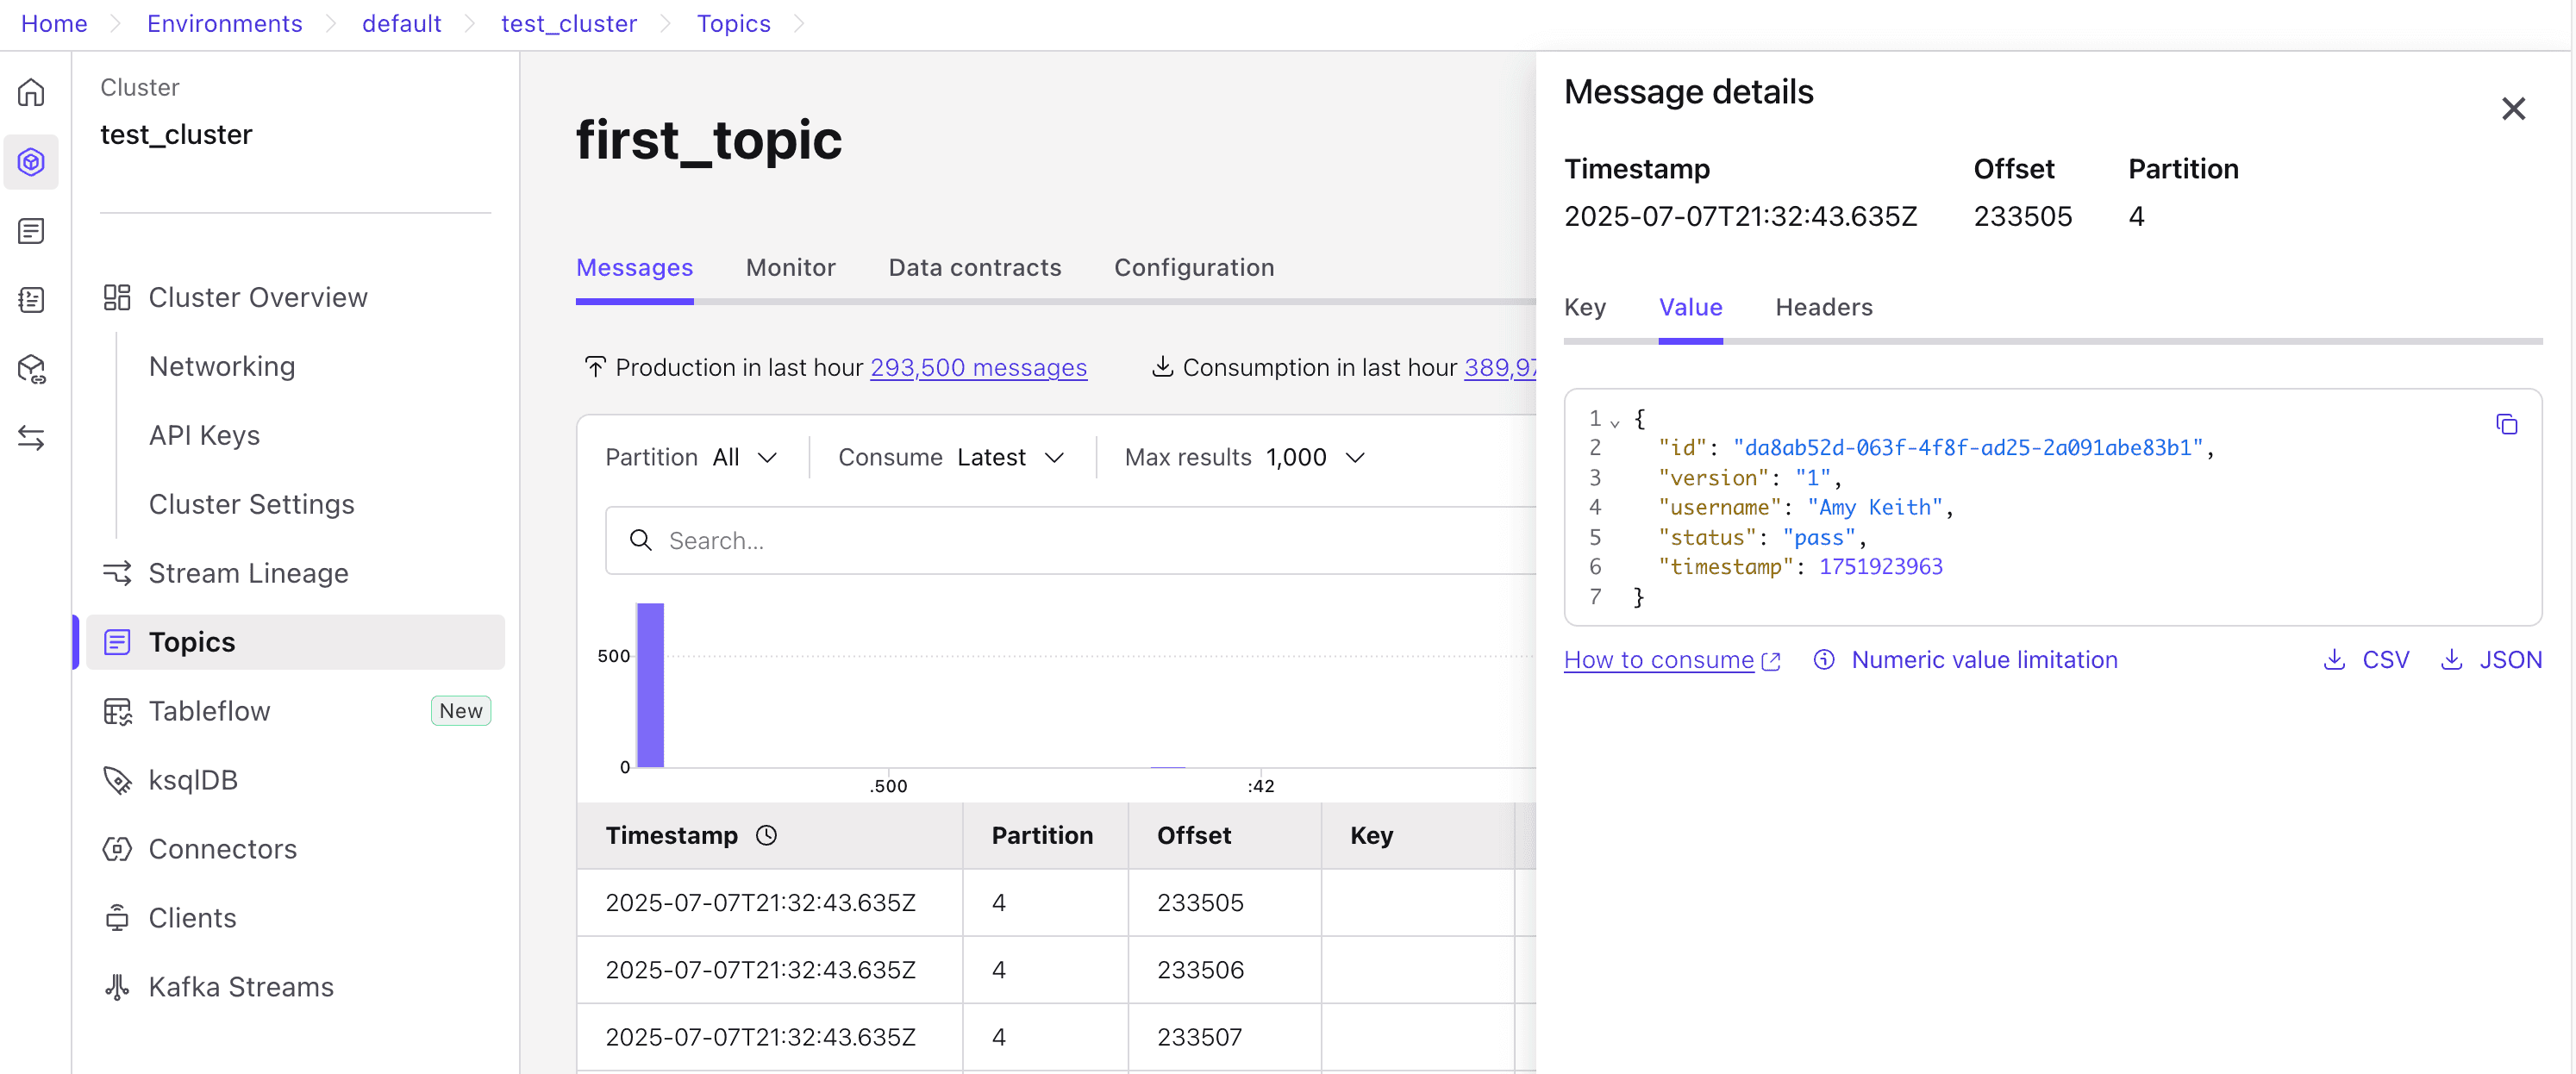
Once you run this, you should see the topics appearing in Confluent.
Apart from this, you can even check the Glassflow logs to see the progress of your pipeline. The stream parameter indicates how many records have been streamed into ClickHouse after deduplication.

You will get the following output from Glassgen, providing you with details about the dataset you just generated.
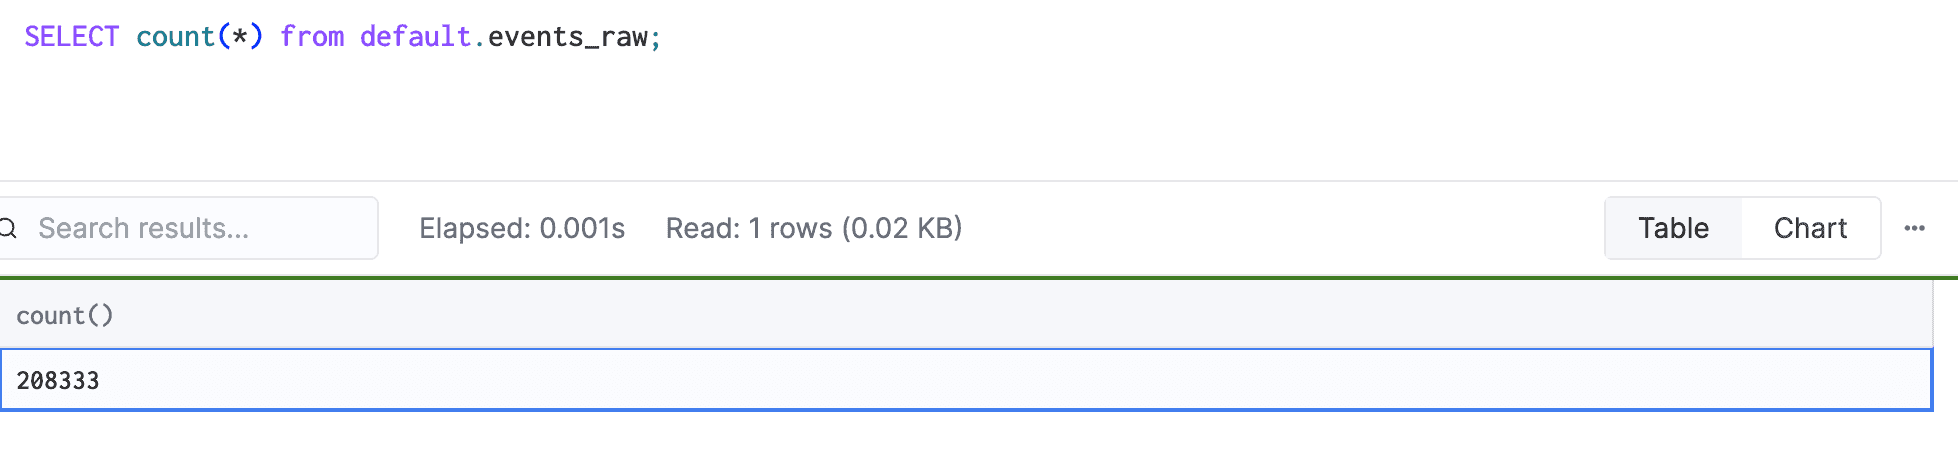
Give Glassflow a minute to complete the entire streaming process and then once you see the message in it’s logs saying “No more messages to send”, you can go and check your table on ClickHouse. Just run the following query to get the record count:
If everything ran as expected, you should see 208,333 records in your table, which are the number of unique records that Glassgen generated! This confirms that our Deduplication pipeline is working as expected!
1.4 Conclusion
That’s it — you’ve successfully built and deployed your first deduplication streaming pipeline with Glassflow! From setting up your environment to integrating Kafka, ClickHouse, and Glassgen, you’ve seen how smooth and fast it is to get started with Glassflow.
But what really sets Glassflow apart is how it directly addresses the pain points of ClickHouse’s ReplacingMergeTree engine. Here’s a quick comparison:
ReplacingMergeTree Limitation | How Glassflow Solves It |
|---|---|
Deduplication happens only during unpredictable background merges | Deduplication happens in-stream, before data hits ClickHouse — no waiting on merges |
Requires | No need for |
Merges may skip large datasets due to thresholds | Glassflow handles large volumes via batch streaming with configurable batch sizes |
No cross-shard deduplication in distributed setups | Deduplication is done before sharding — ensuring uniqueness regardless of distribution |
This makes Glassflow a far more deterministic, real-time, and scalable alternative for deduplicating data at ingestion time and this is just the beginning. Glassflow offers more powerful pipeline types, including:
🔁 Stream Joins – Combine data from multiple streams in real time
🔄 Deduplicate and Join – Hybrid pipelines with both logic layers
📥 Simple Ingestion – Push raw data directly into targets without transformation
To explore these features and more, check out the official Glassflow documentation and take your streaming data pipelines to the next level.
Did you like this article? Share it!
You might also like


Data transformations at TB scale for ClickHouse
Get query ready data, lower ClickHouse load, and reliable pipelines at enterprise scale.
